Costume made with a cardboard box: real ideas, benefits and how to make it step by step
You searched for a cardboard box costume and found a thousand options. Here's a curated selection with real-life examples , the benefits (beyond just being cute), and a step-by-step guide to building your own at home with recycled materials.
Updated: February 2026 · Reading time: 5 min
Educational benefits of cardboard costumes
- Imagination: to devise, pre-visualize and empathize with the character.
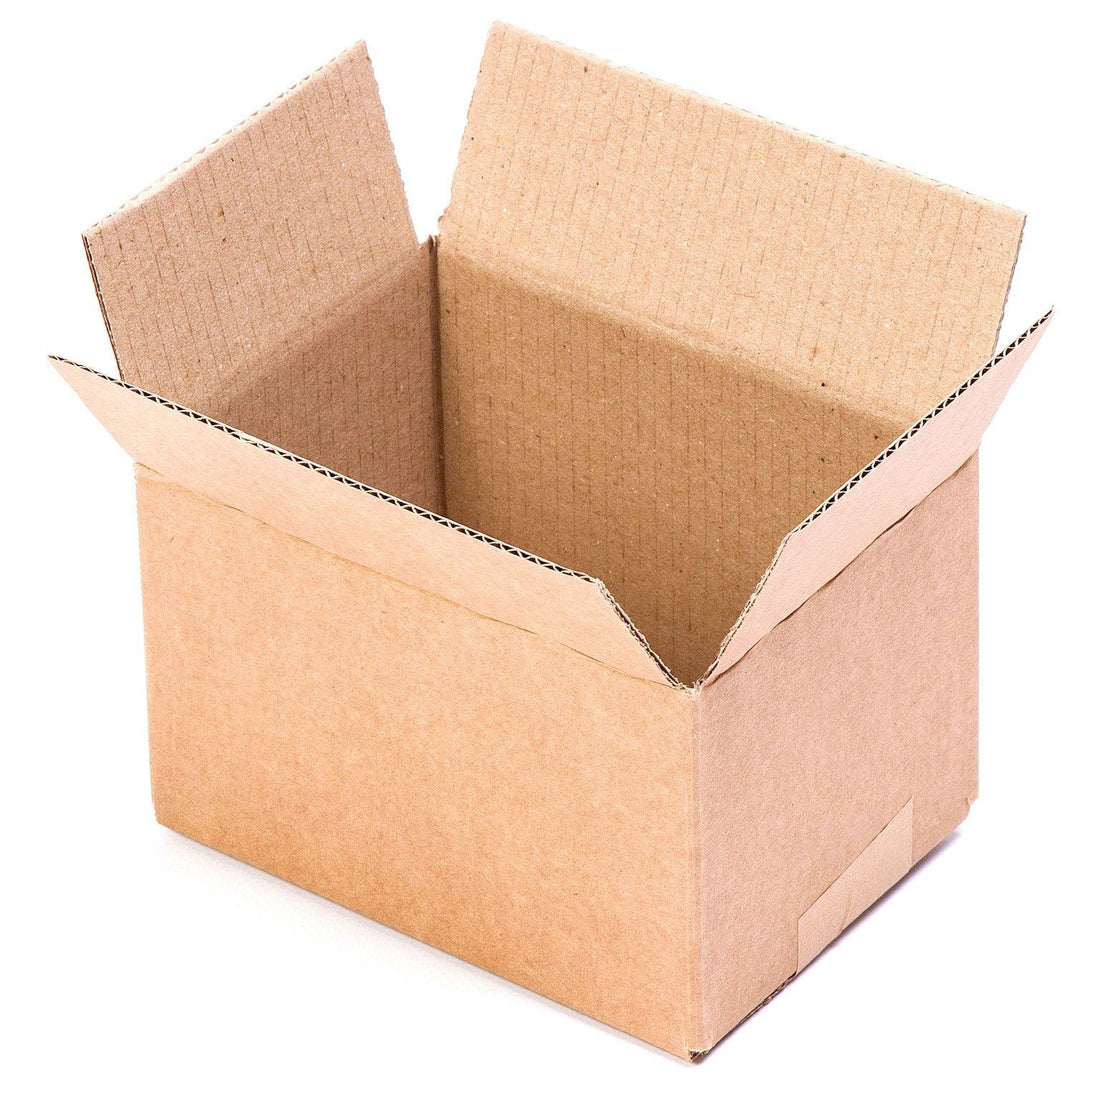
- Recycling and sustainability: used boxes , less waste and environmental awareness.
- Fine motor skills: cutting, gluing, joining pieces and painting with precision.
- Eye-hand coordination: manipulating what is seen and planning.
- Spatial vision: deciding the location and dimensions of each part.
- Family bond: a shared project that adds quality time.
Ideas with photos (inspiration)

Llama costume
Ideal for personalizing with felt or wool "fur".

Plane
Rectangular body + side wings for stability.

Cardboard Unicorn Costume
Unicorn
Conical horn + mane with strips of cardboard or wool.
 Cardboard Owl Costume
Owl
Layered feathers with semicircular cutouts.

Cake
Cylinder + cardboard candles and tissue paper.
Craft inspiration credit: Merrilee Liddiard.
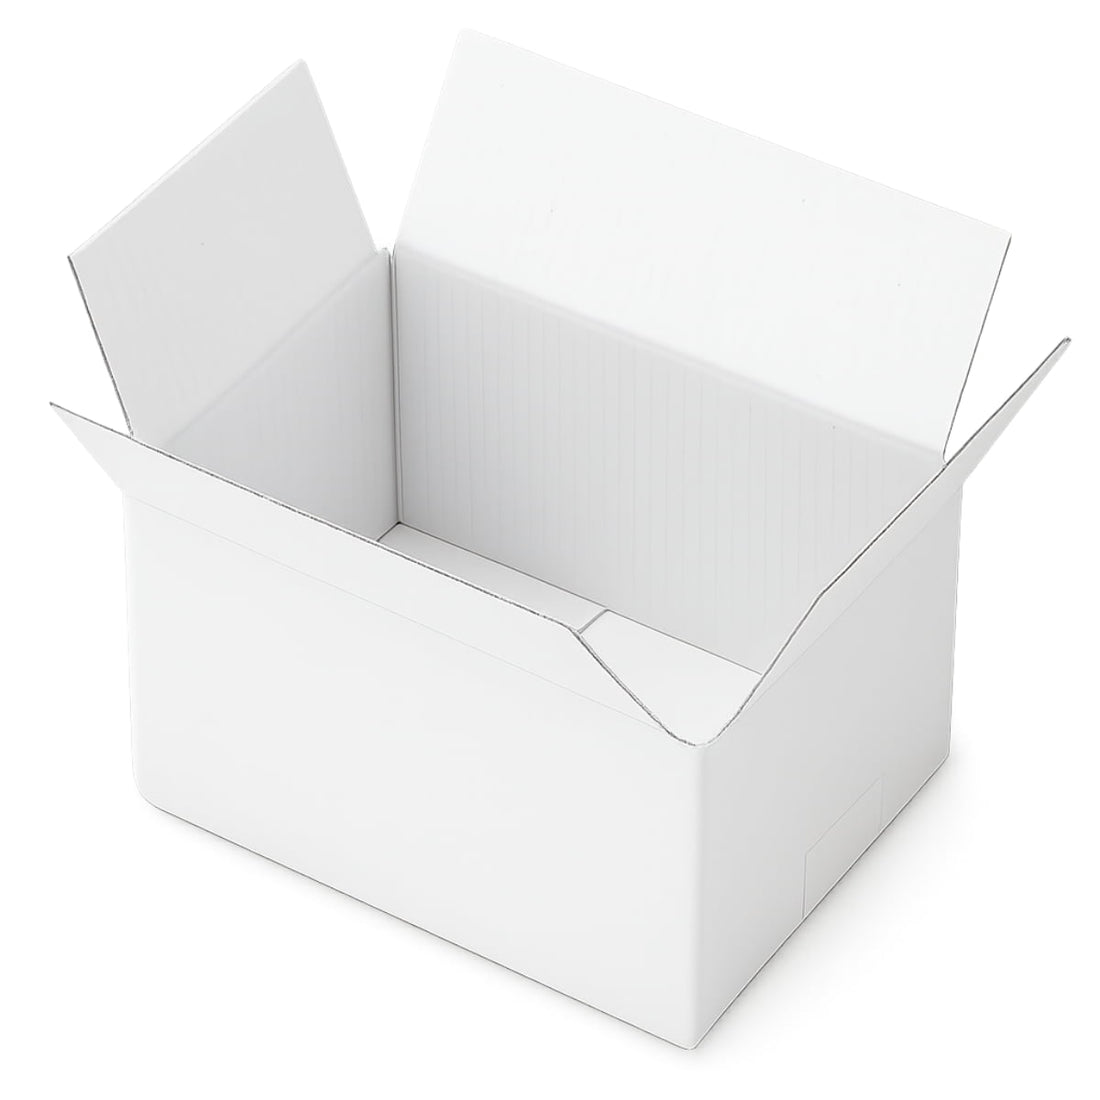
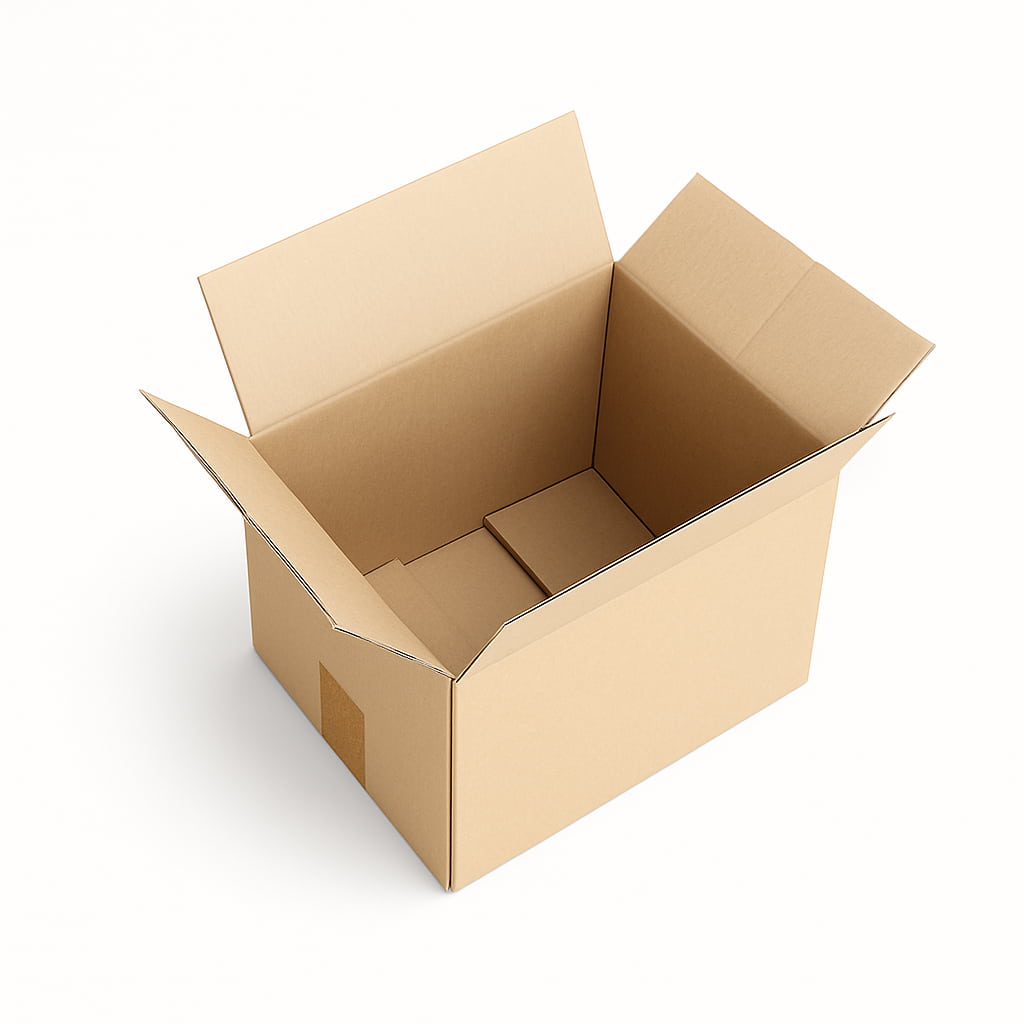
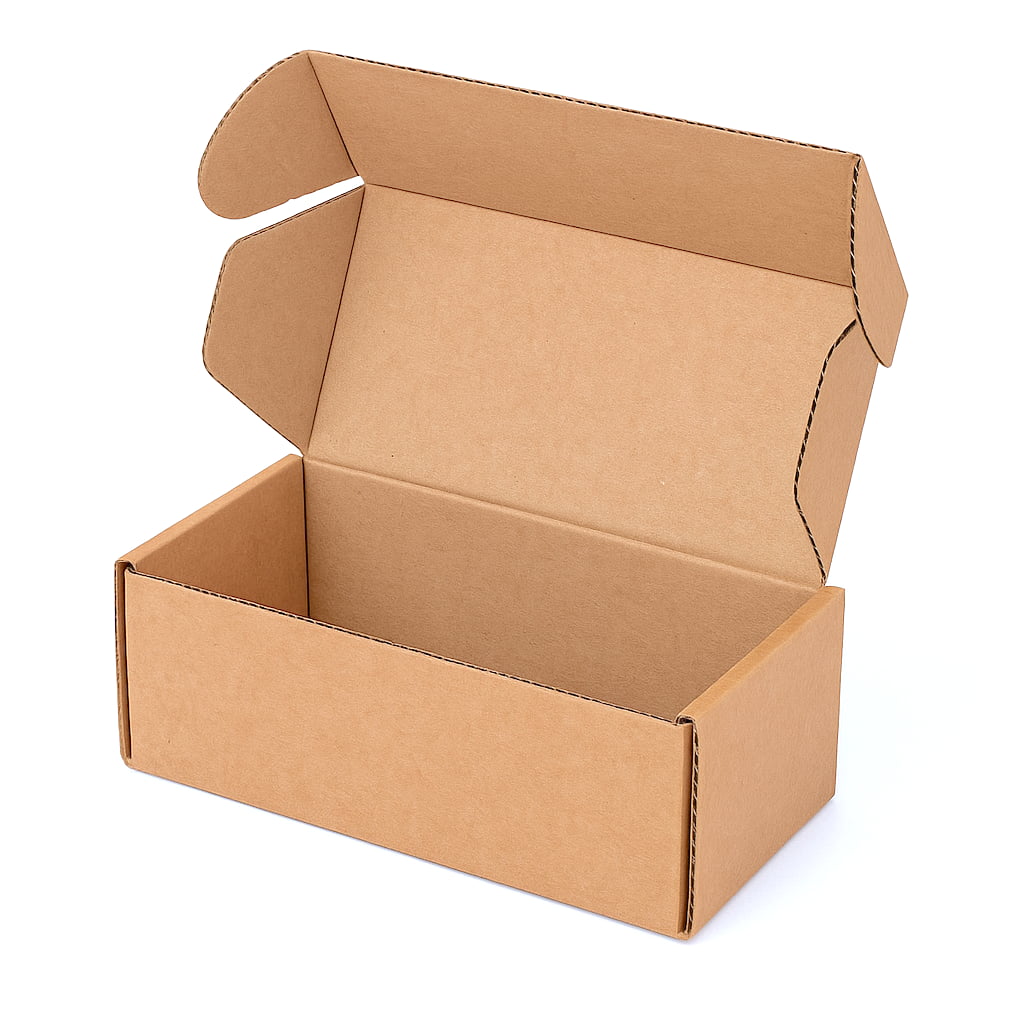
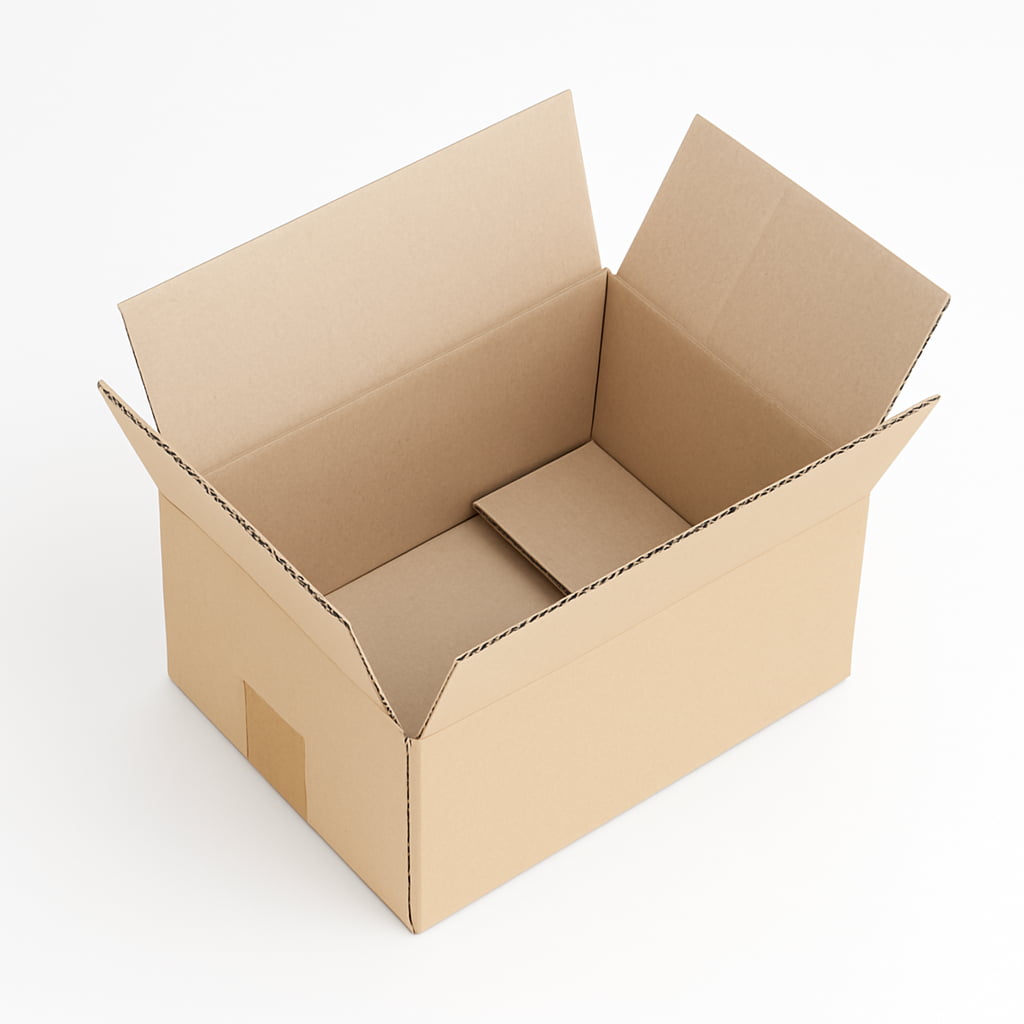
Basic materials
- 2–3 cardboard boxes (body, head/details).
- Cardboard or cardboard scraps for ears/wings/snout.
- Scissors or cutter (with adult supervision).
- Masking tape and/or hot glue.
- Acrylic paint or tempera; brushes/roller.
- Black marker for outlines.
- Felt, wool or tissue paper (decoration).
- Cord or elastic for suspenders.
- Protective tablecloth, gloves, children's goggles.
How to do it step by step (example: llama)

- Choose the boxes. One for the body (it goes in through the shoulders) and a smaller one for the head.
- Mark and cut holes. Head and arms on the body; a discreet ventilation opening in the "mouth".
- Ears and snout. Draw, cut out and glue; reinforce joints with tape on the inside.
- Assembly. Join head and body with cardboard strips or inner cord so that it can be removed.
- Paint. Light base (white/beige) and details (eyes, nose) with marker.
- Texture. Glue strips of cardboard/felt or wool to simulate fur.
- Straps. Secure adjustable elastic straps to prevent shifting while walking.
- Final check. Sand edges if necessary and test the fit with the creature.
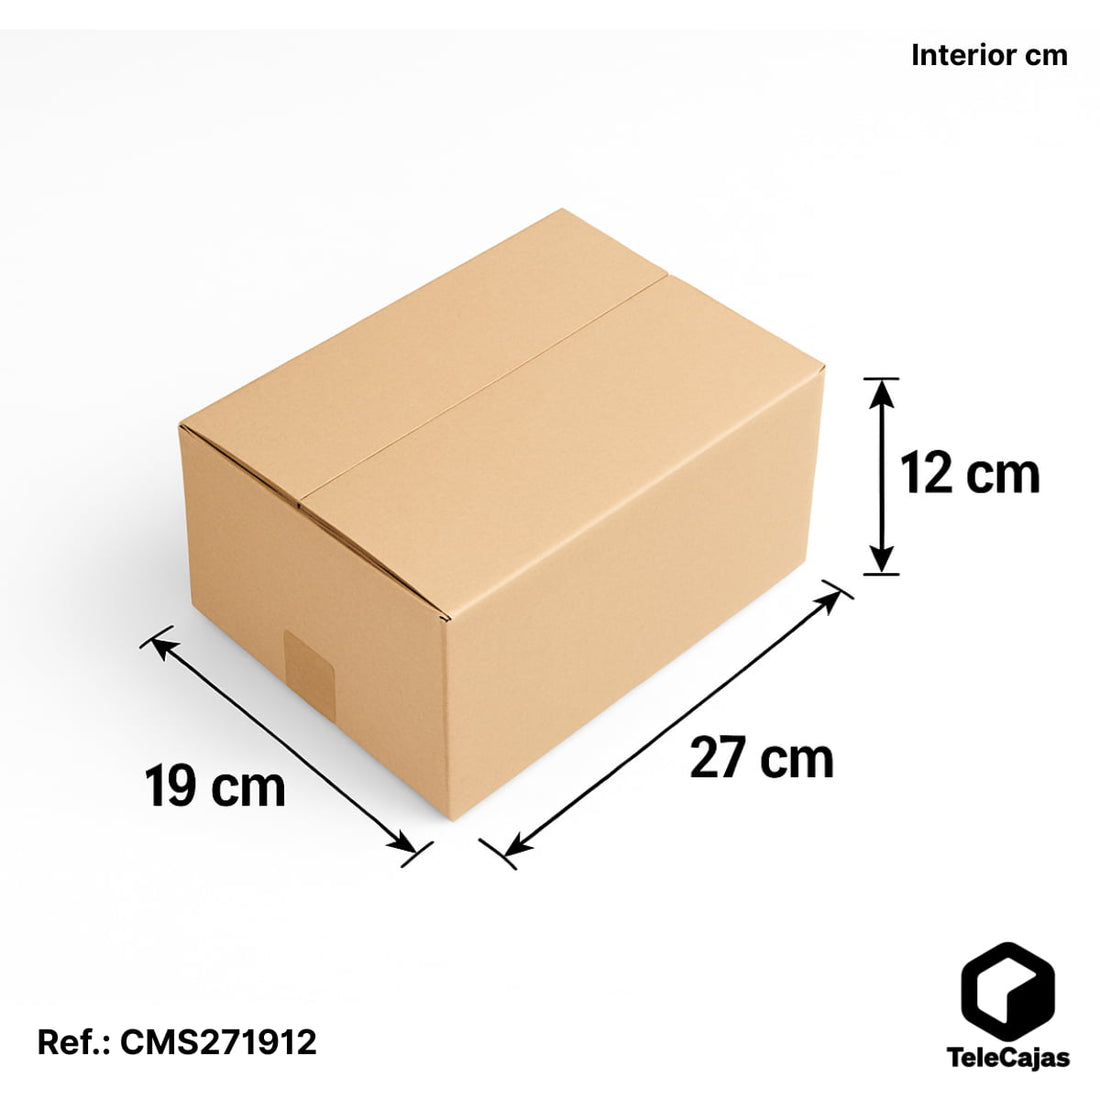
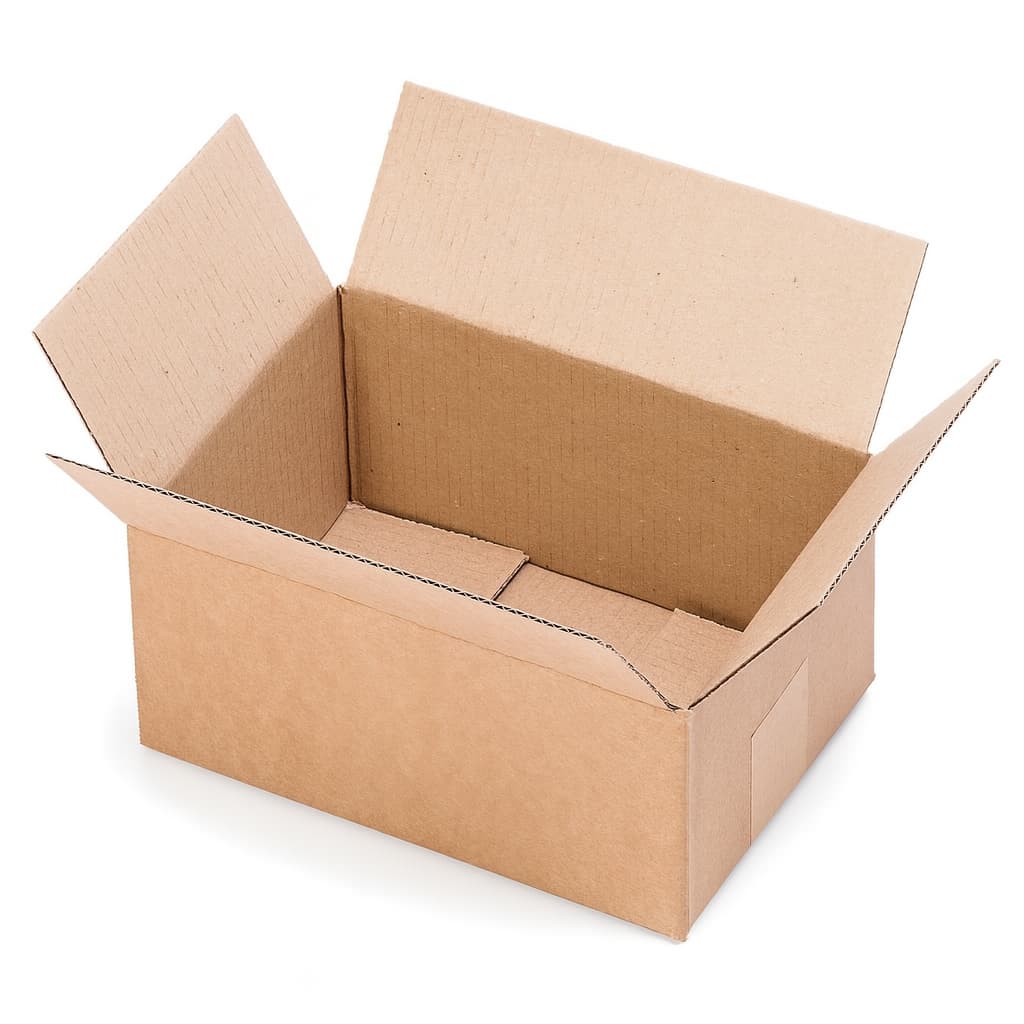
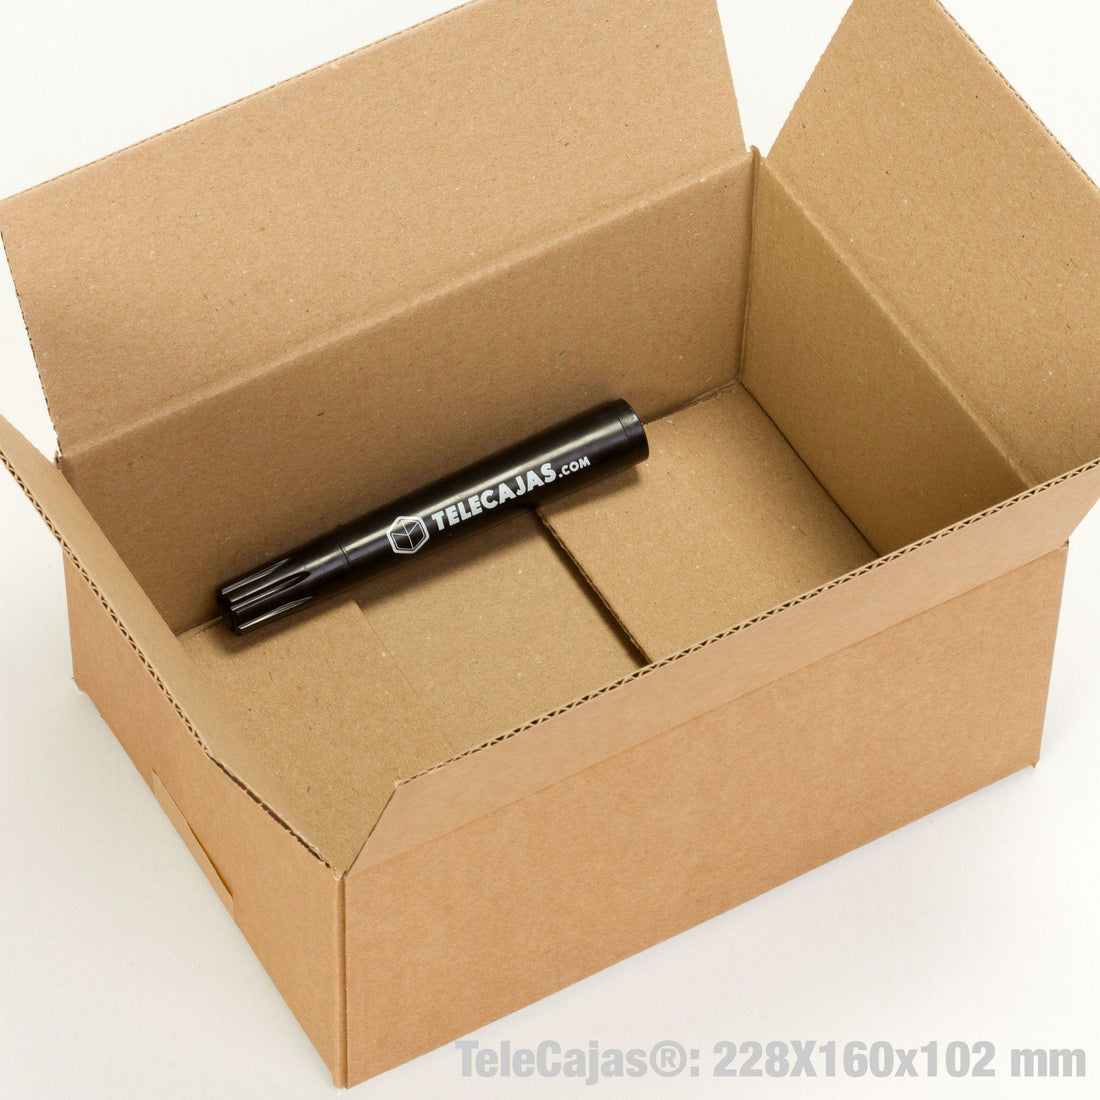
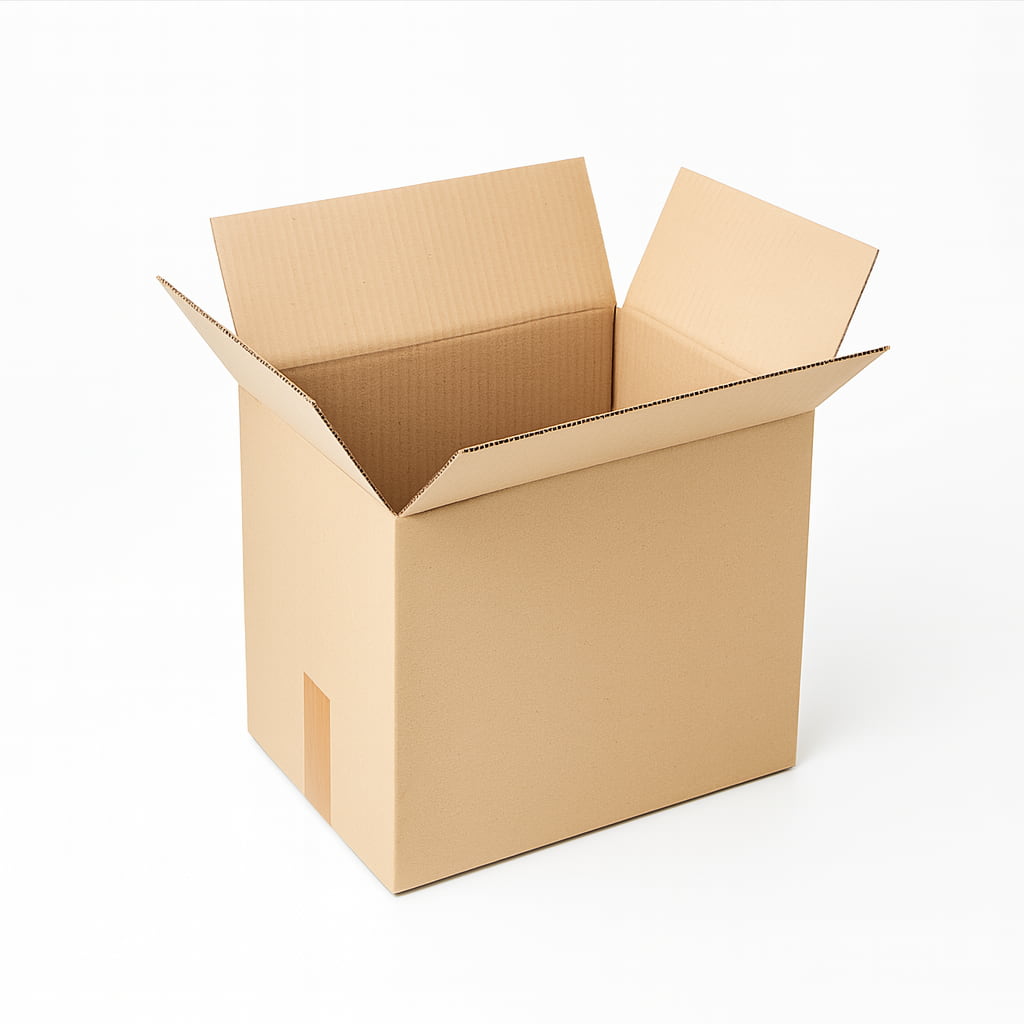
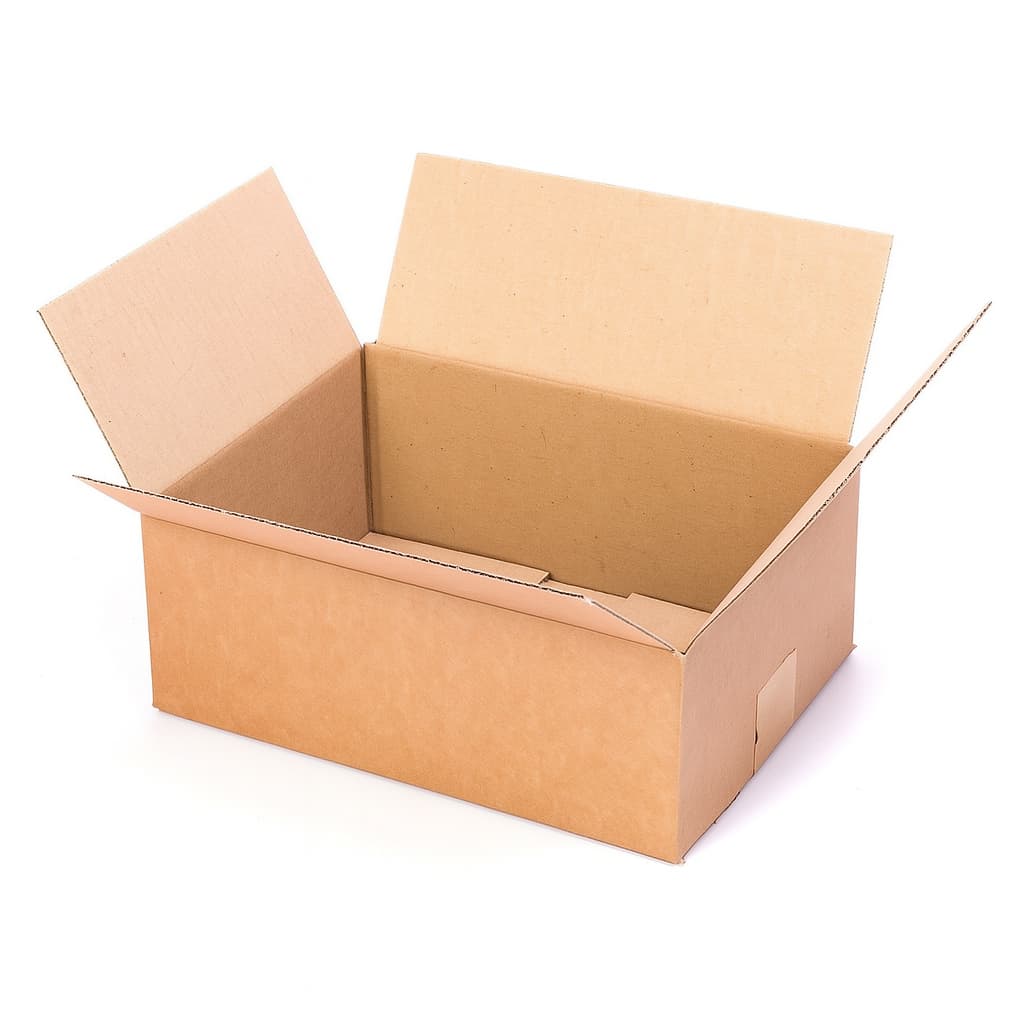
What boxes do you need for your costume?
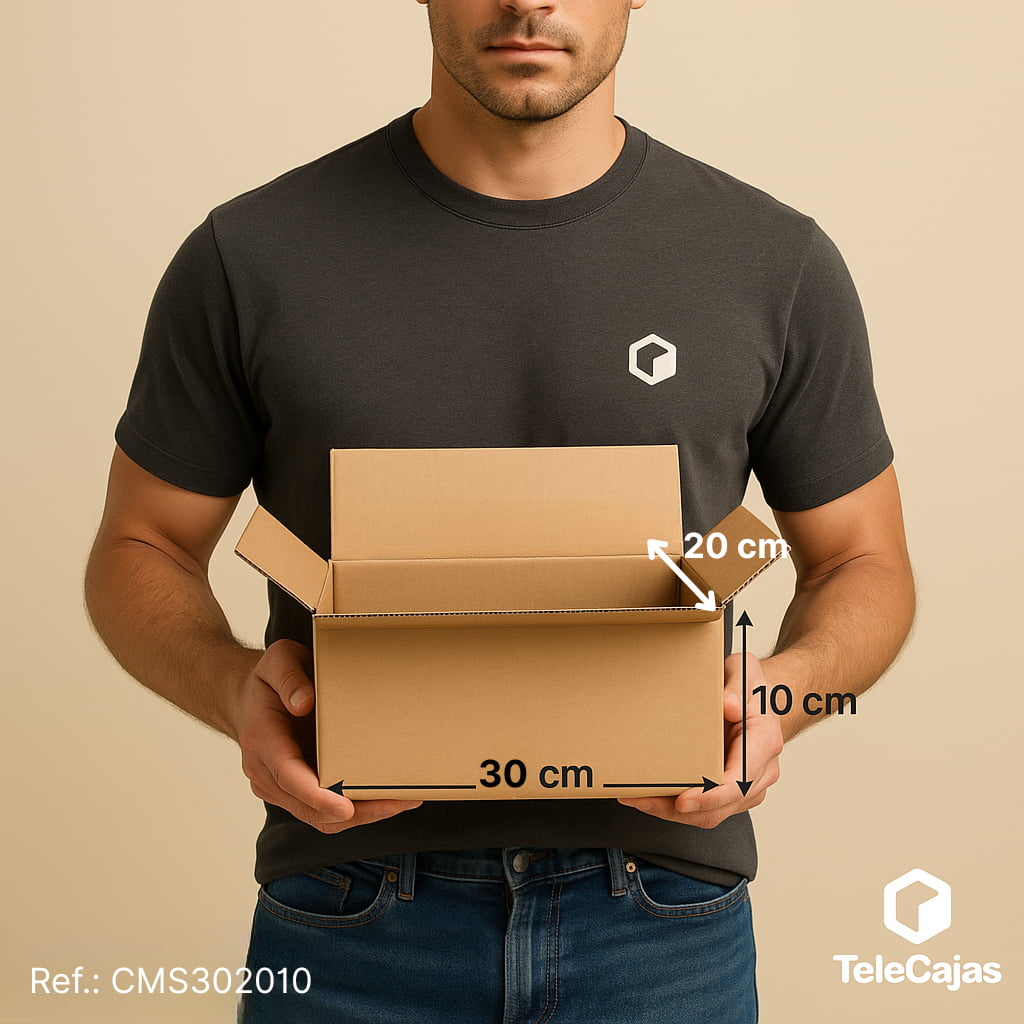
The size of the box depends on the costume and the child's age. Here are some recommendations:
- Costume body (children 3-6 years): a 40×30×30 cm box is perfect for the torso.
- Costume body (children 7-12 years): a 50×35×35 cm box offers more space.
- Details (head, wings, accessories): scraps from used boxes or smaller boxes .
C or B flute corrugated cardboard is ideal because it is easy to cut and paint, yet strong enough to hold the costume's shape.
Tips and safety
- Always supervise the use of craft knives or hot glue guns. For children, use blunt-tipped scissors.
- It rounds edges and reinforces interior friction areas.
- Add breathing and check your field of vision before going outside.
- Use non-toxic paints and let it dry completely.
- Do a test at home to adjust gaps and strap height.
Frequently Asked Questions
- How long does it take?
- Between 60 and 90 minutes, depending on the level of detail and drying time.
- Recommended age?
- From 3-4 years old with adult help, adjusting size and weight to the child.
- Can it be washed?
- Cardboard is not washable; remove dust with a dry cloth and avoid moisture.
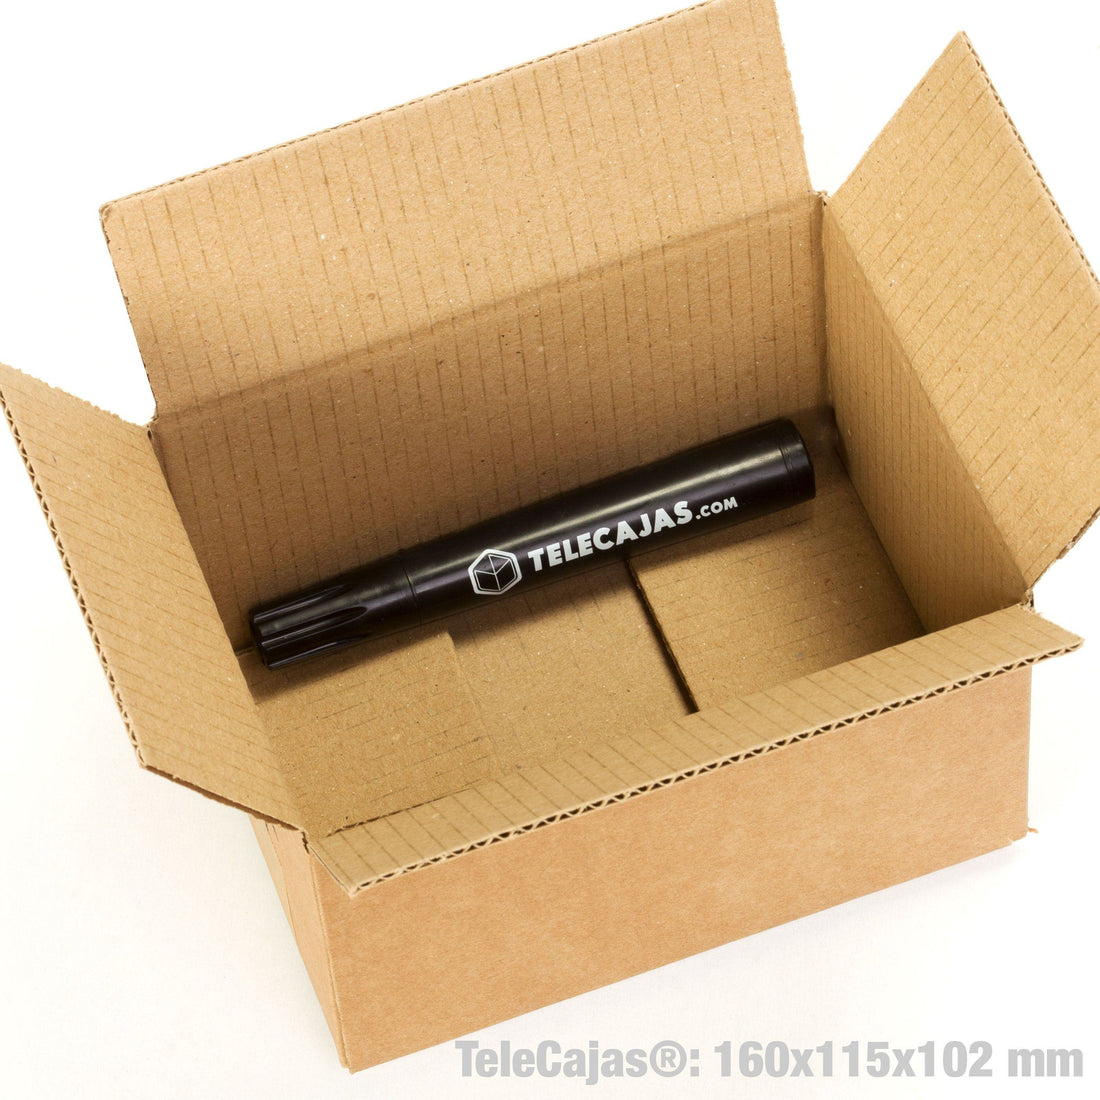
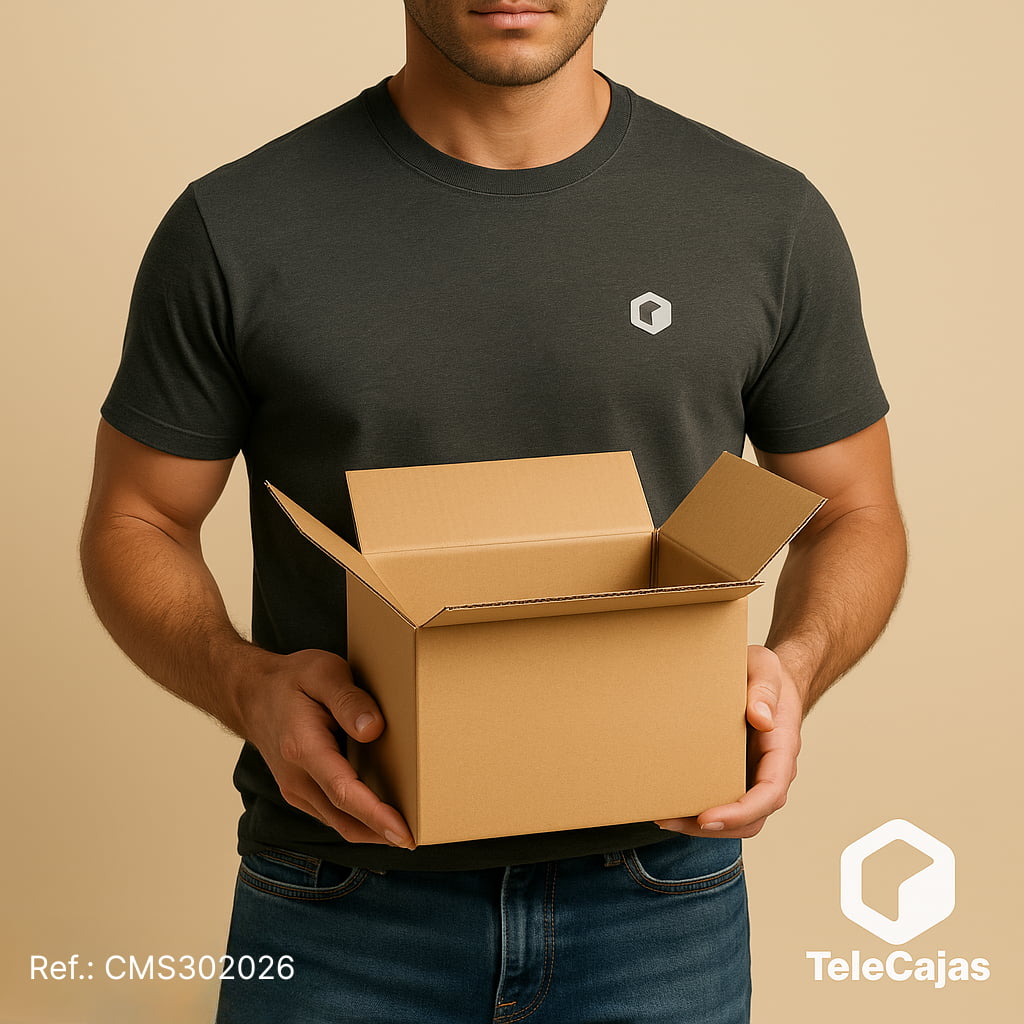
- How much does it cost?
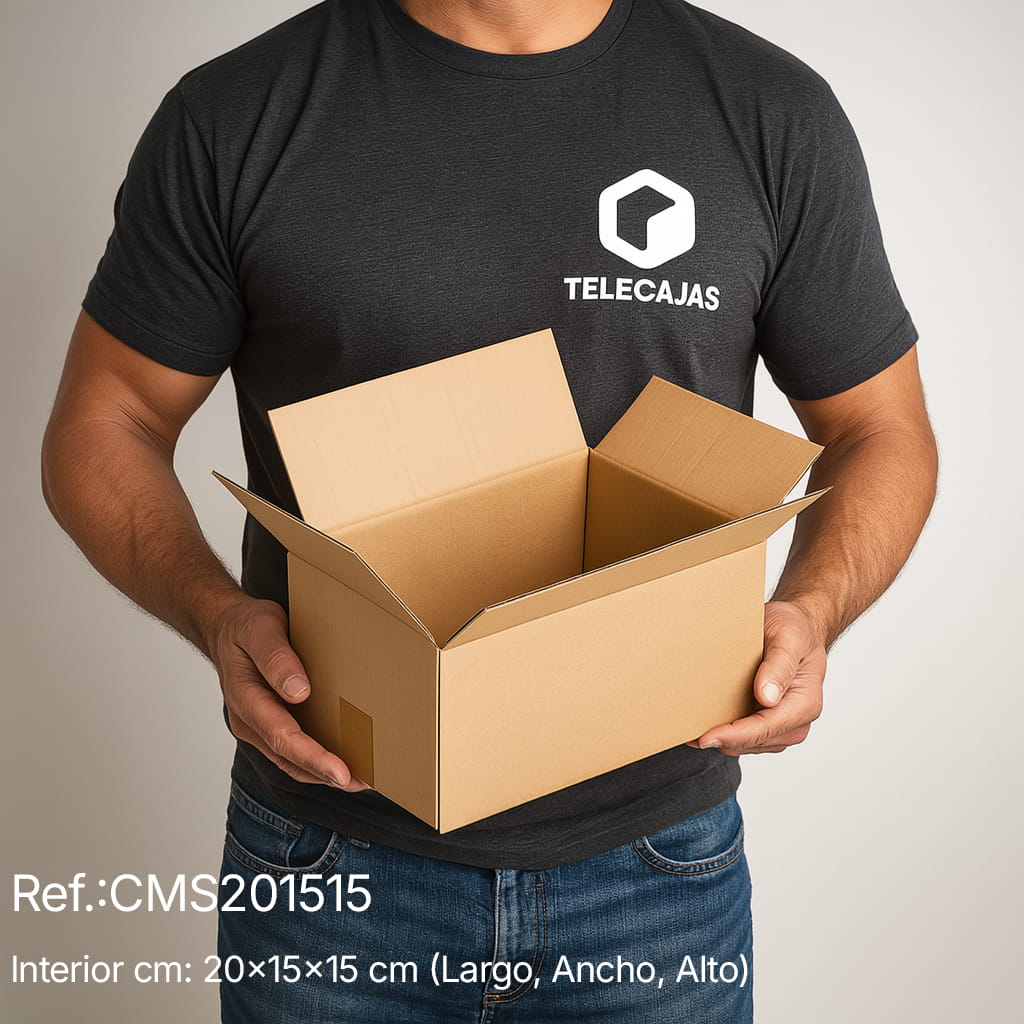
- Very little: with used boxes and materials you already have, it can be free. If you need new boxes, you can get them for less than €2 at TeleCajas .