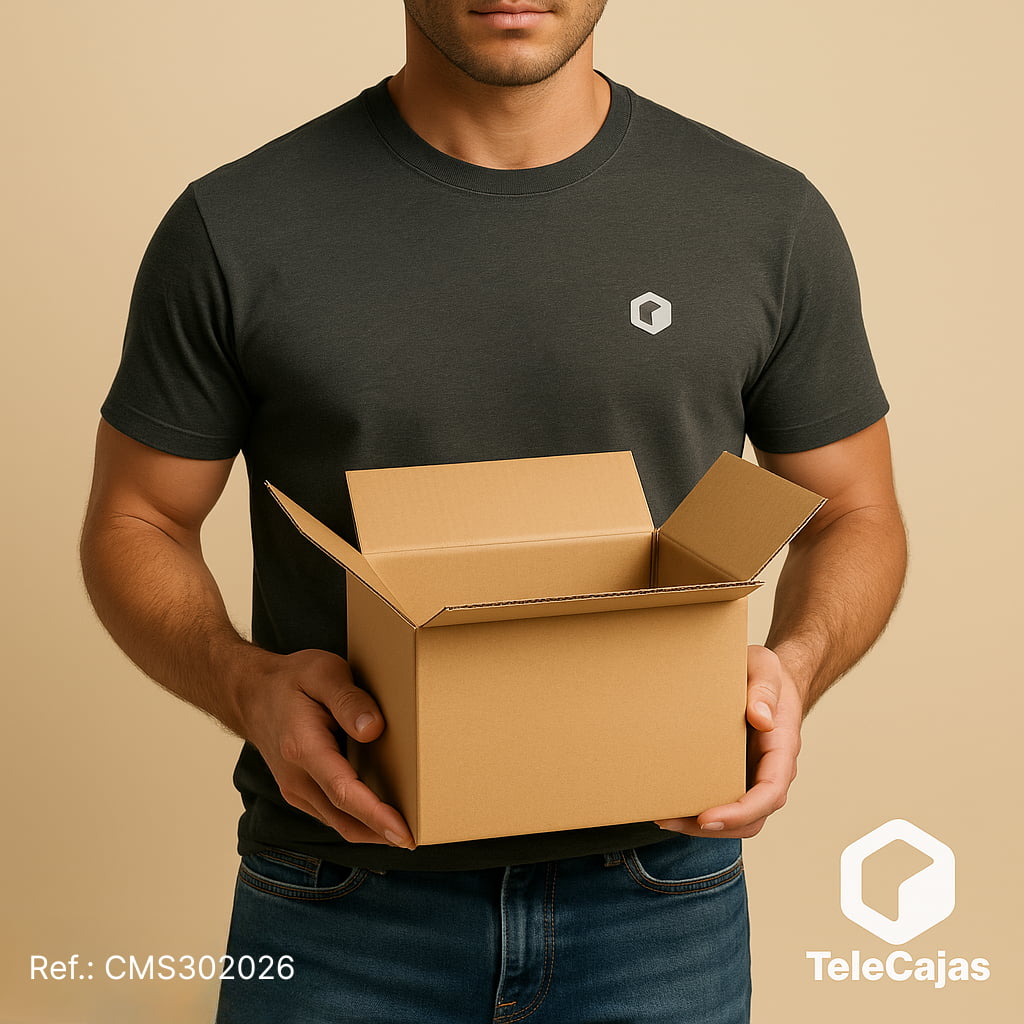
The short answer: standardize packaging and document every shipment
To reduce claims due to insufficient packaging, you need four controls: an appropriate box, the product immobilized, a strong seal, and proof of the process. The package must withstand normal anticipated handling without the item touching the sides, bumping against other parts, or shifting inside.
Photographs help explain how the order was sent, but they do not turn poor packaging into good packaging, nor do they guarantee compensation. The carrier or platform will apply its terms, limits, and evidence. The priority remains preventing damage.

The four checks every package must pass
| Check | What to review | Common failure |
|---|---|---|
| Box | Size, condition, and strength appropriate to the product | Reusing damp cardboard or choosing an oversized box |
| Interior | Continuous protection, separation, and immobilization | Filling only the top part |
| Seal | Bottom, flaps, edges, and label | Using narrow tape or sticking to dusty surfaces |
| Evidence | Condition, serial, protection, seal, weight, and delivery | Taking only one photo of the package already sealed |
1. Choose a box that can withstand the product
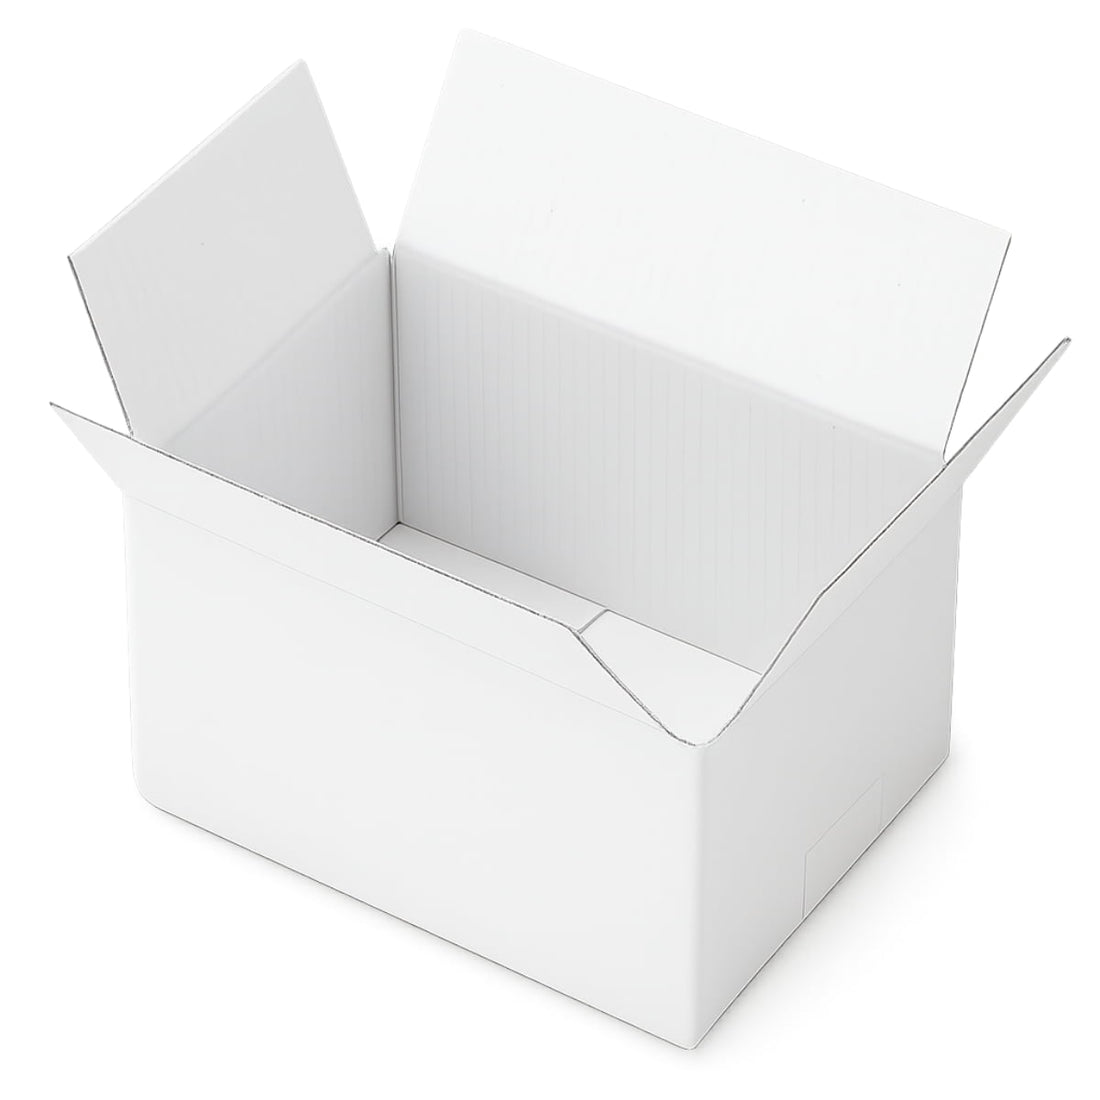
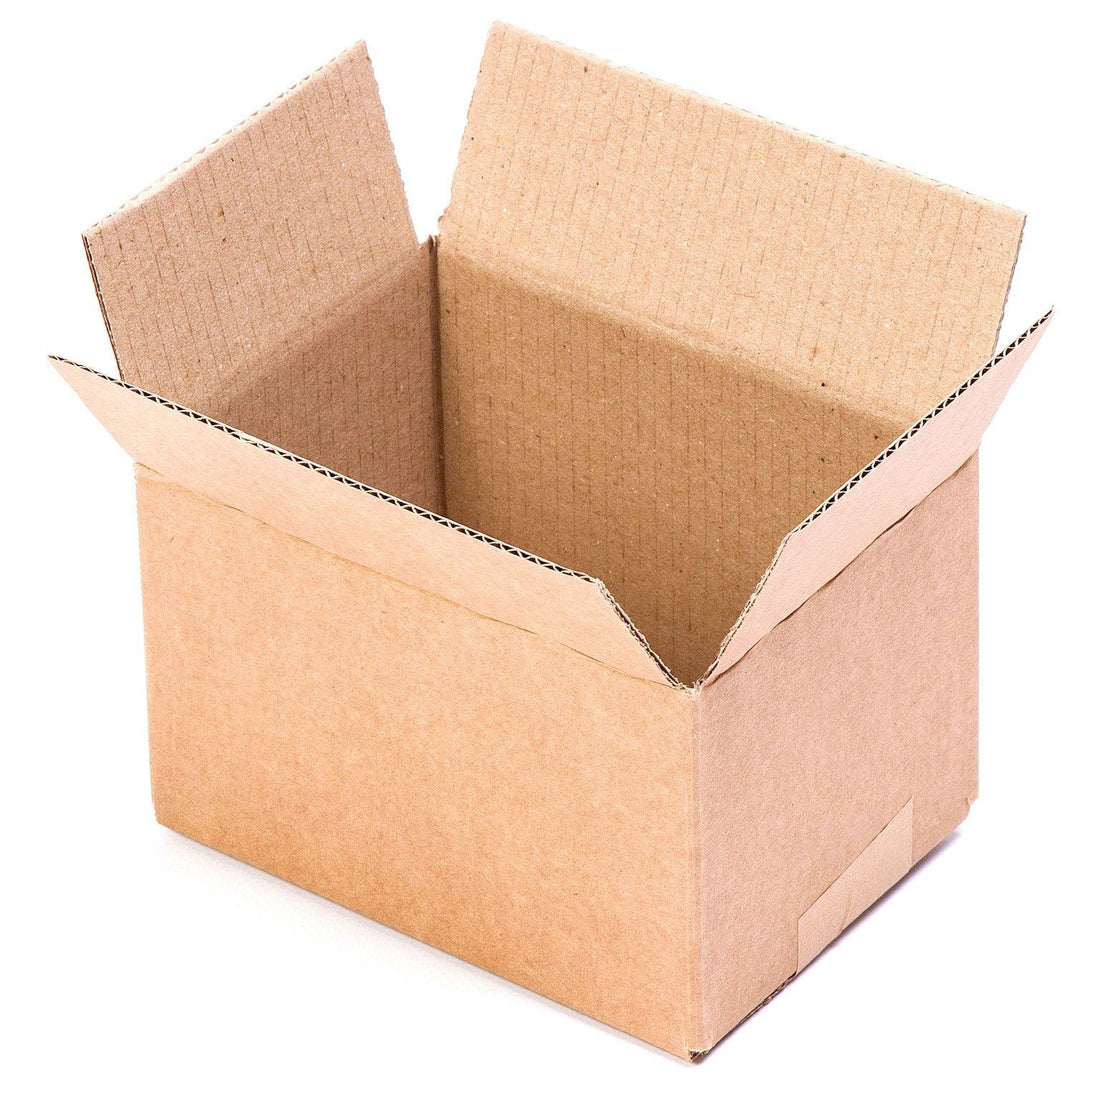
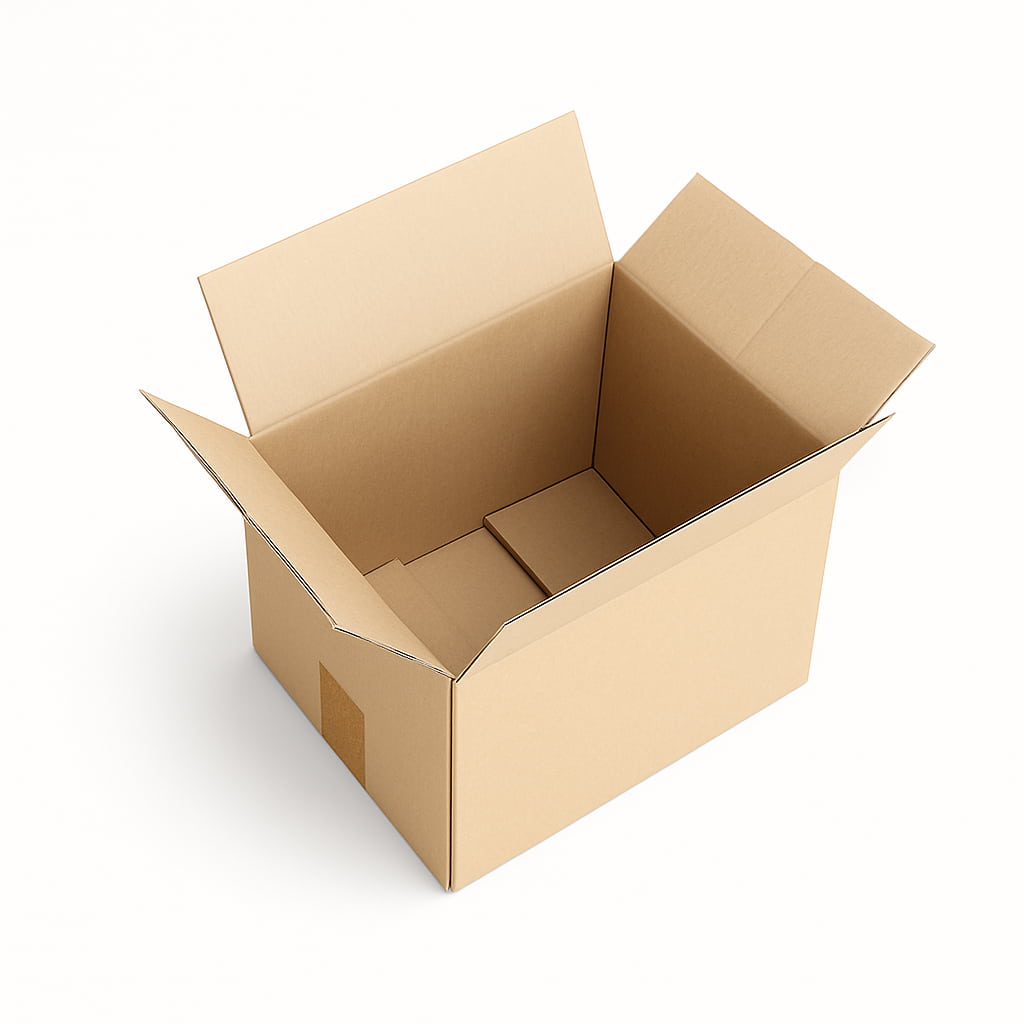
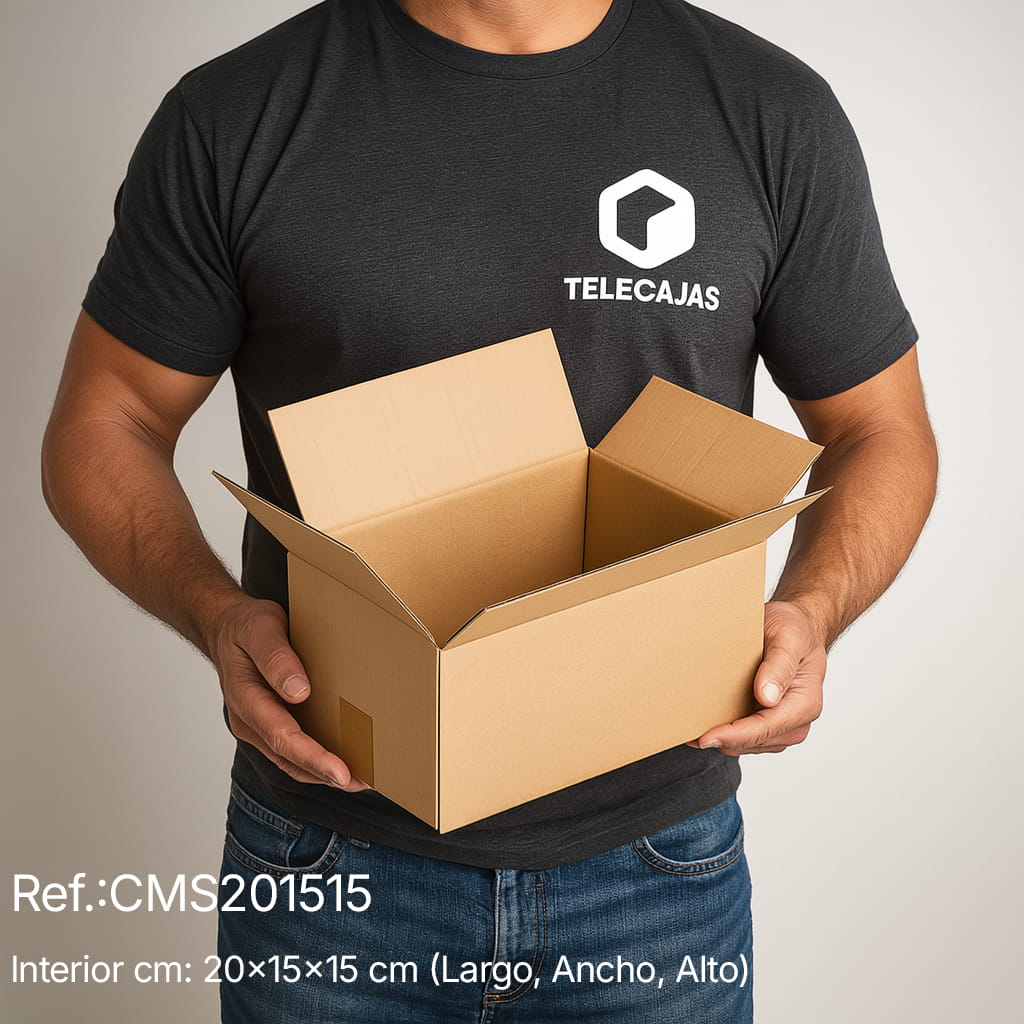
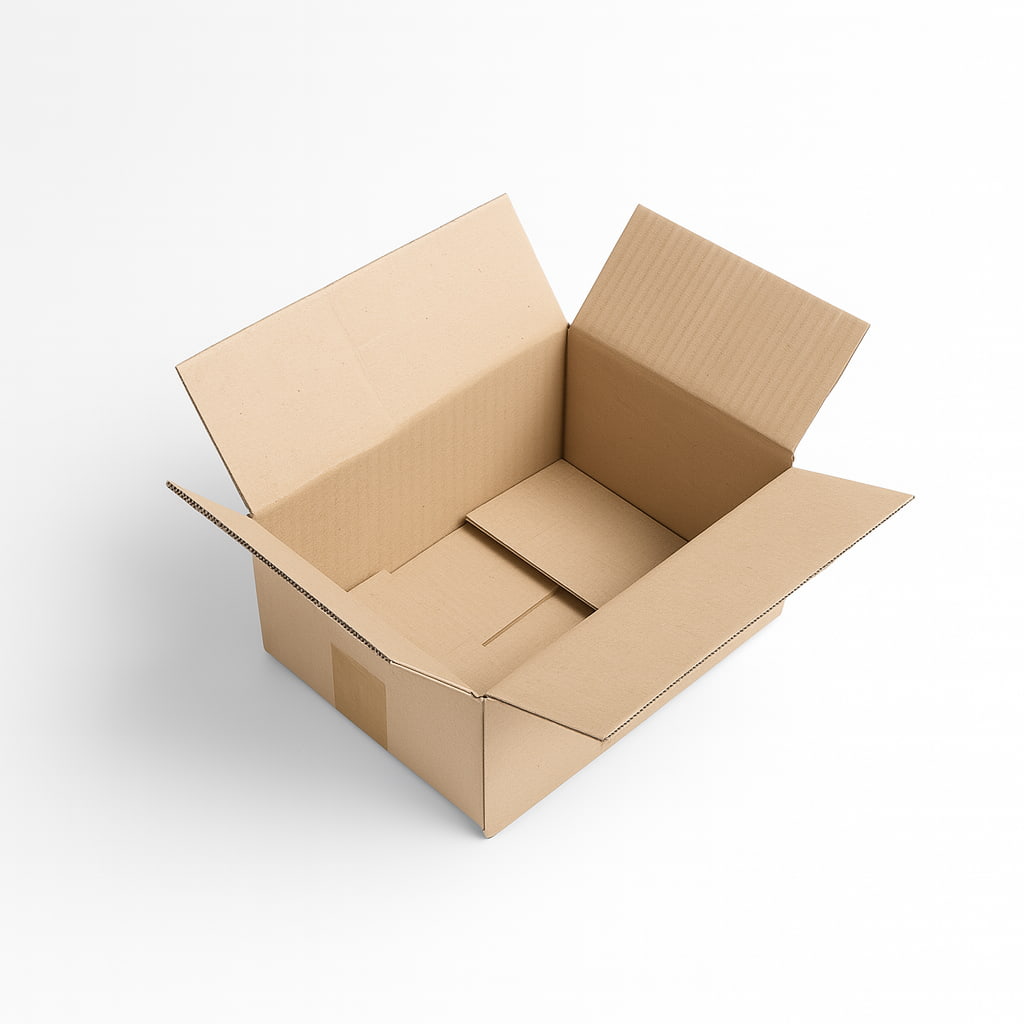
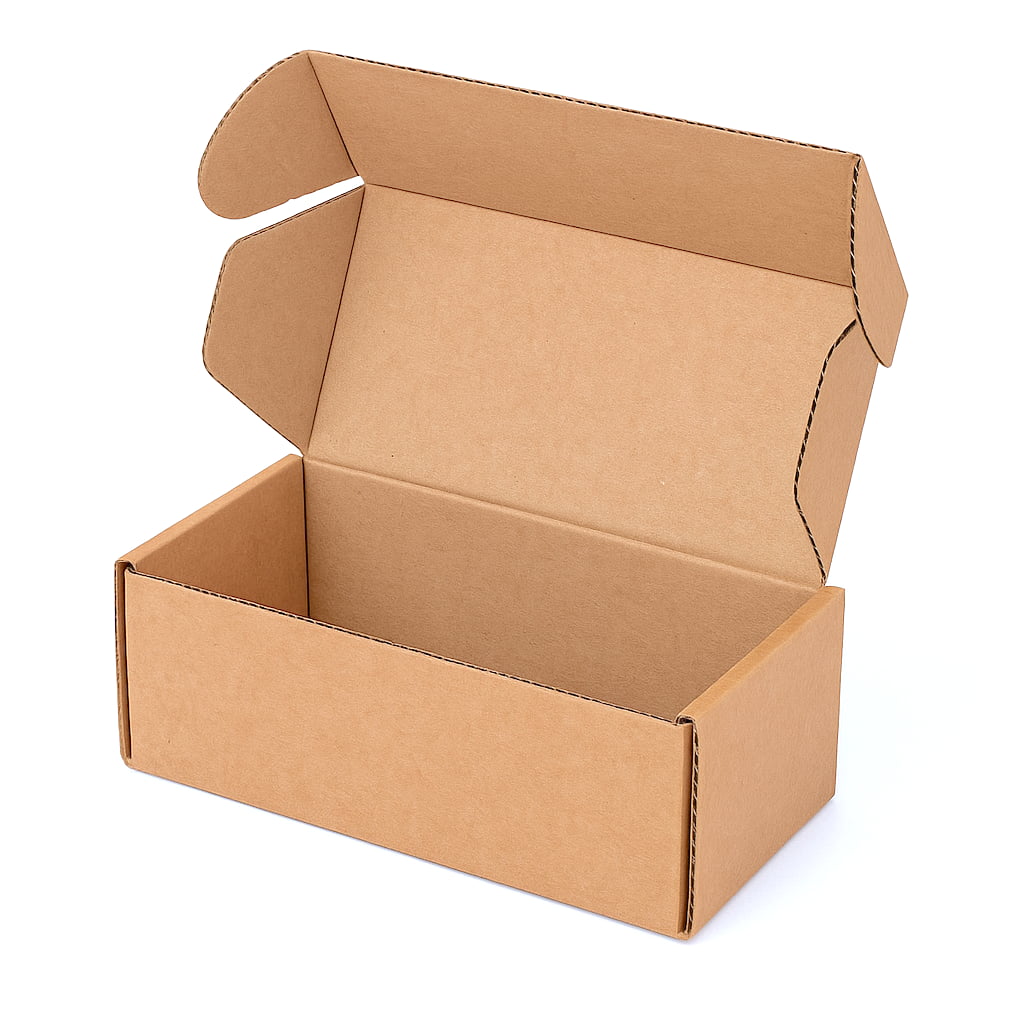
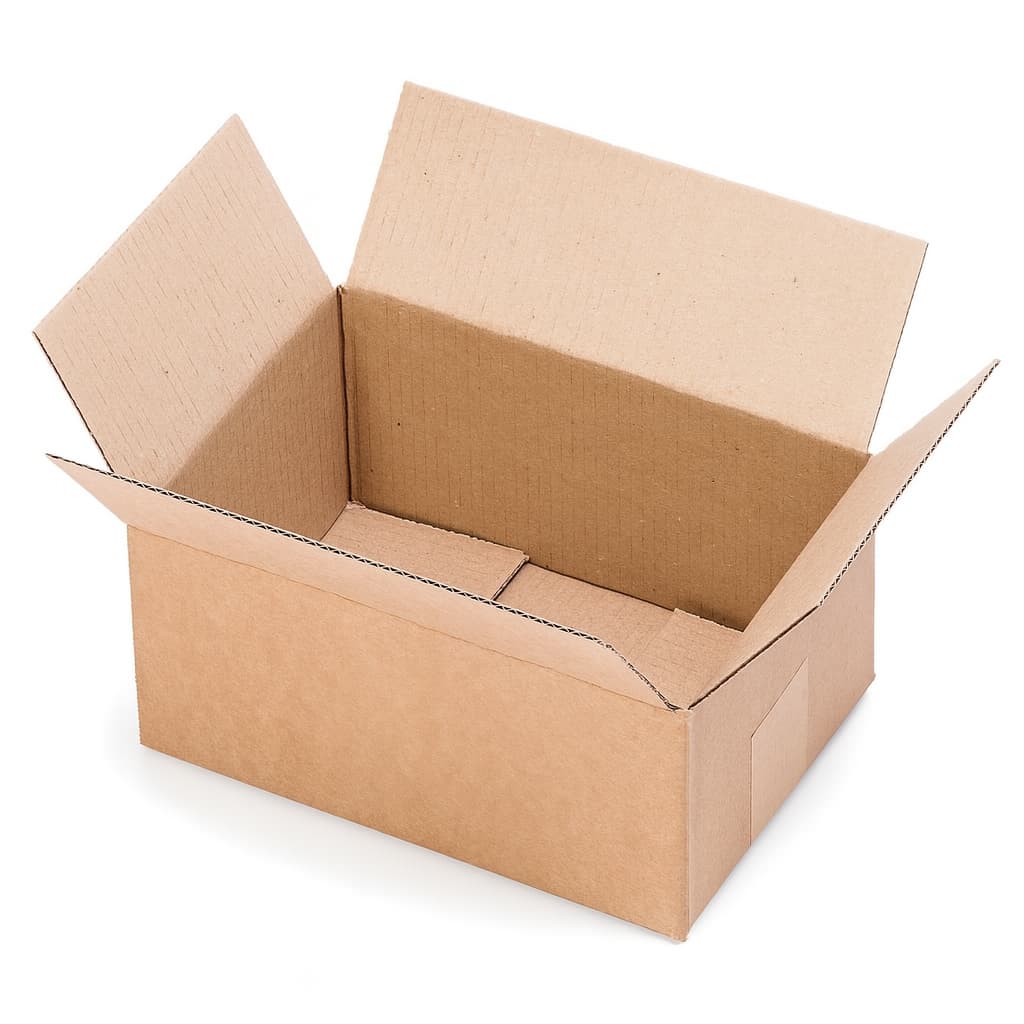
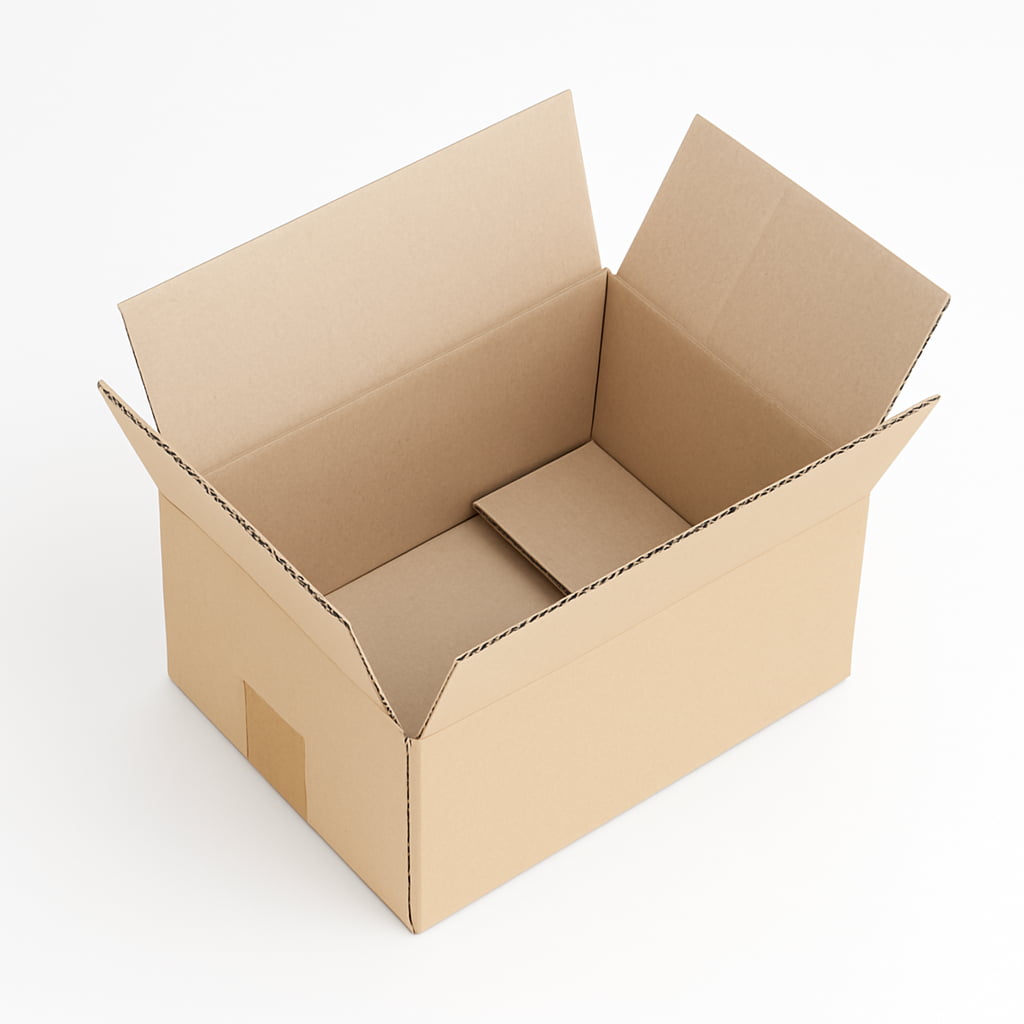
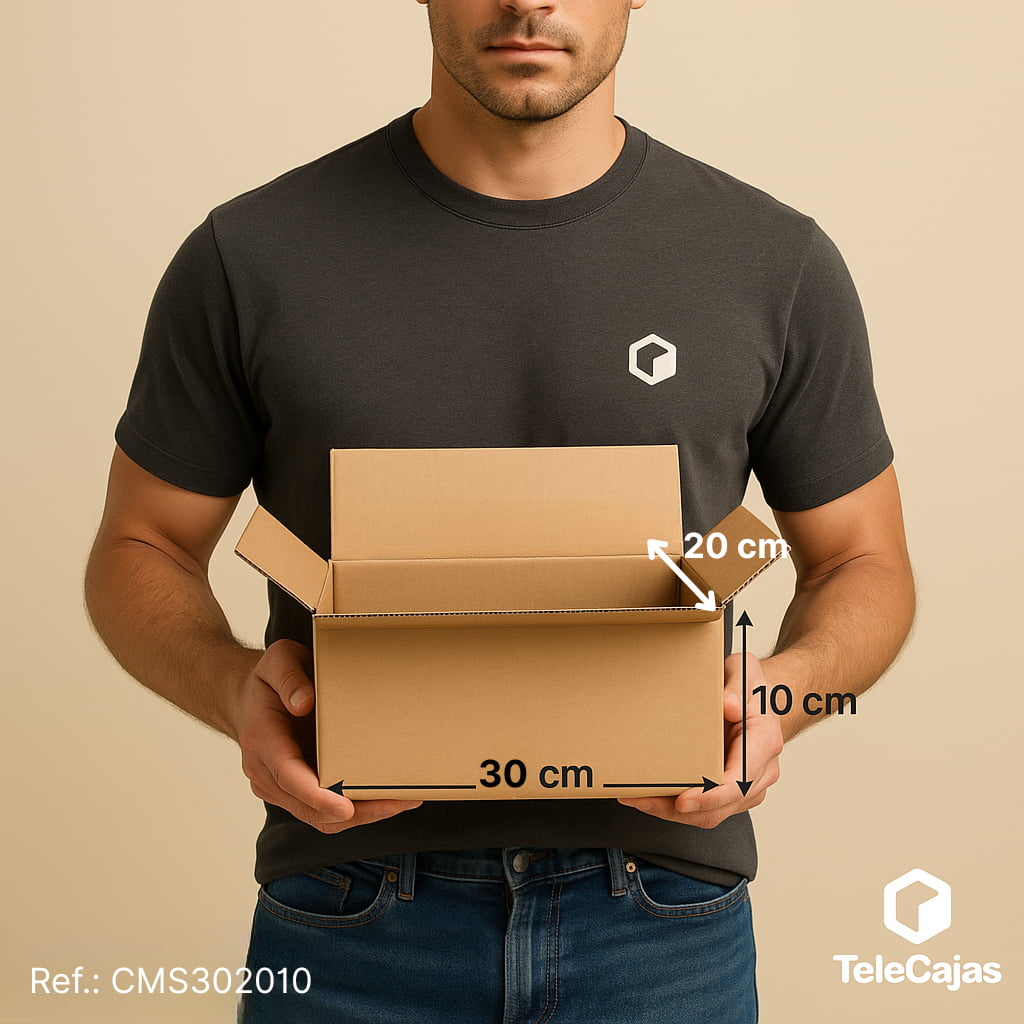
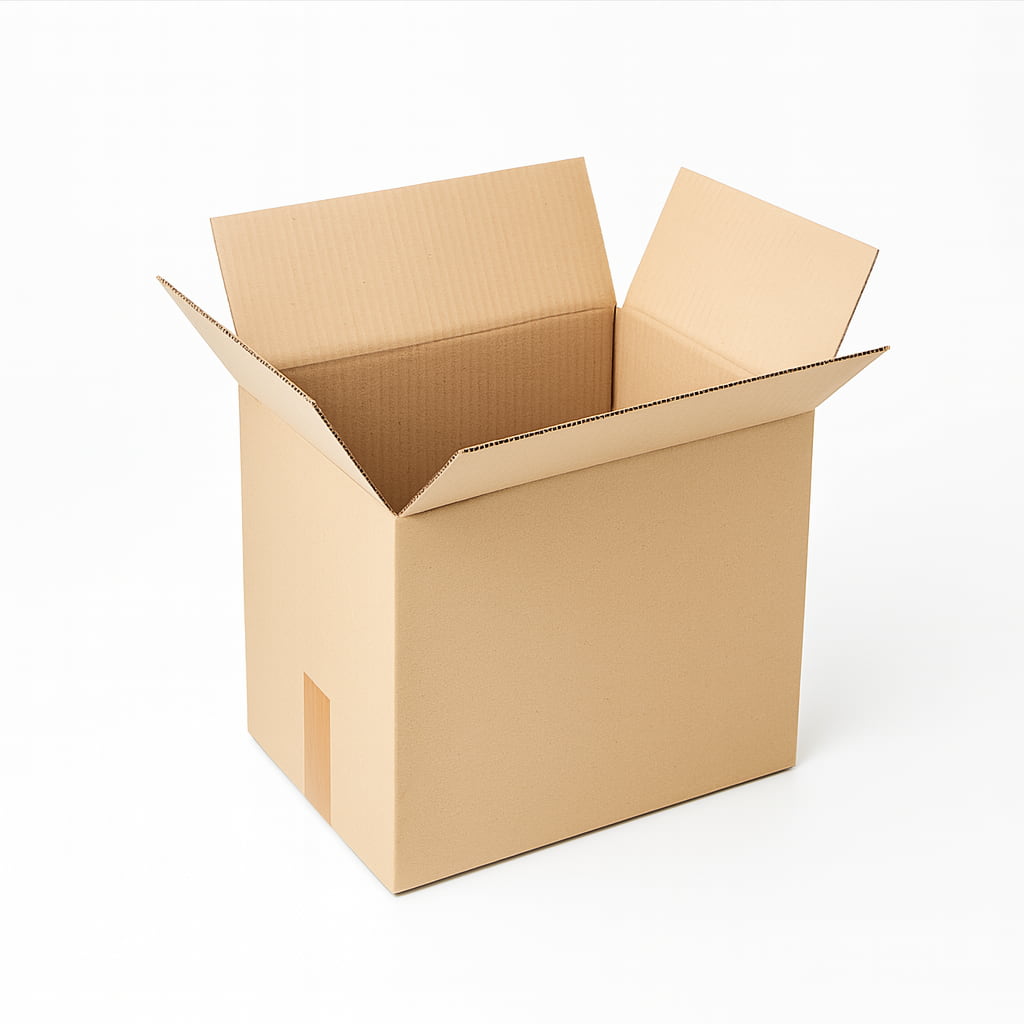
The box must retain its shape under the weight of the contents. Check that it has no moisture, perforations, open corners, or worn folds. For heavy, stackable, or delicate items, compare double-wall cardboard solutions, check how much weight a cardboard box can hold, and validate the actual load with a sample.
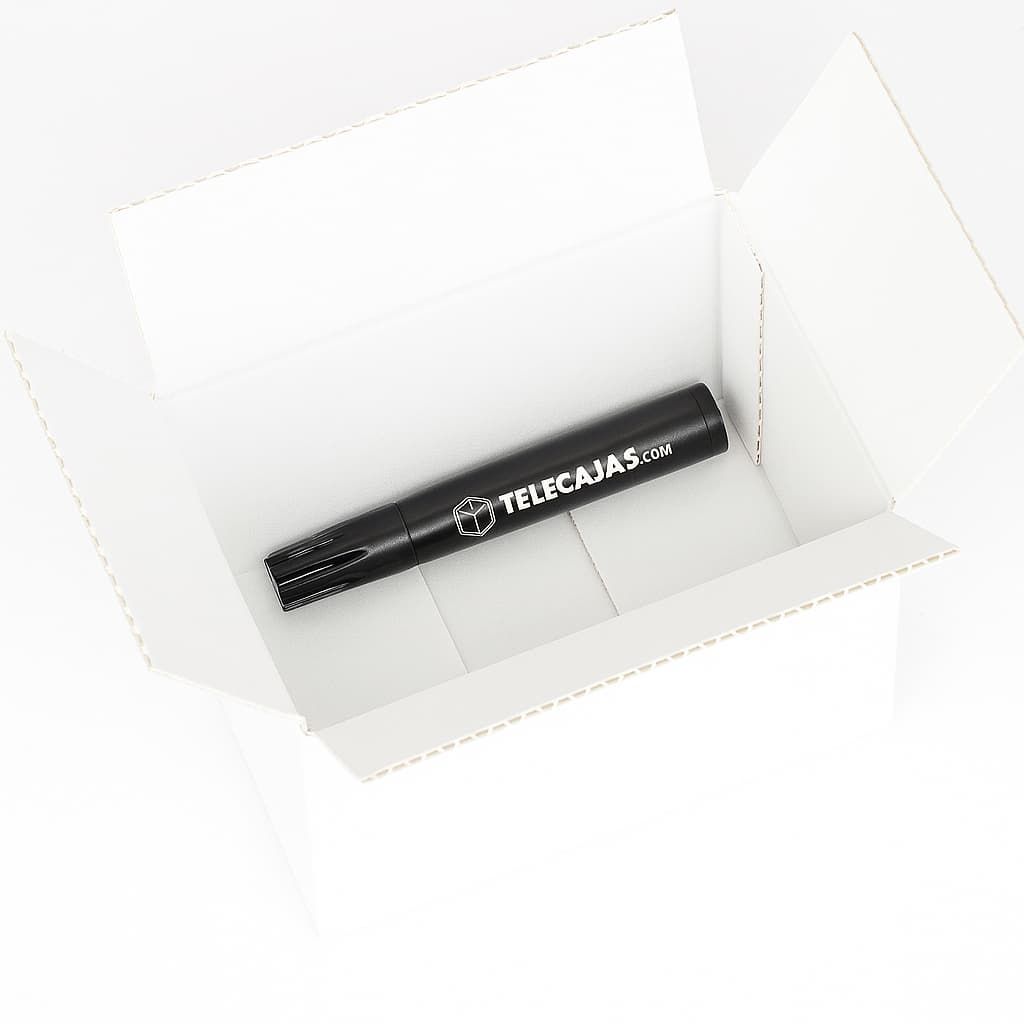
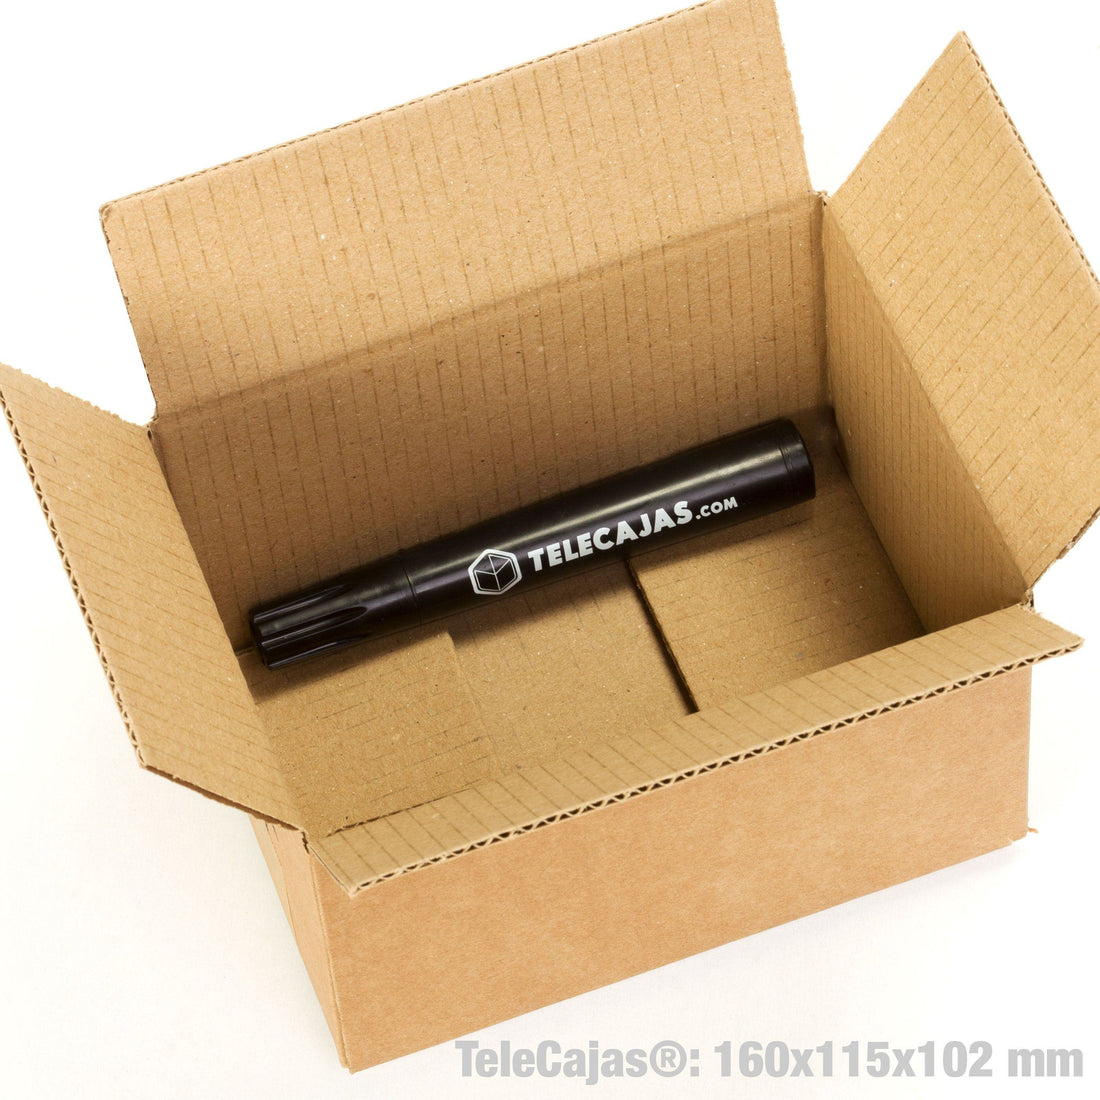
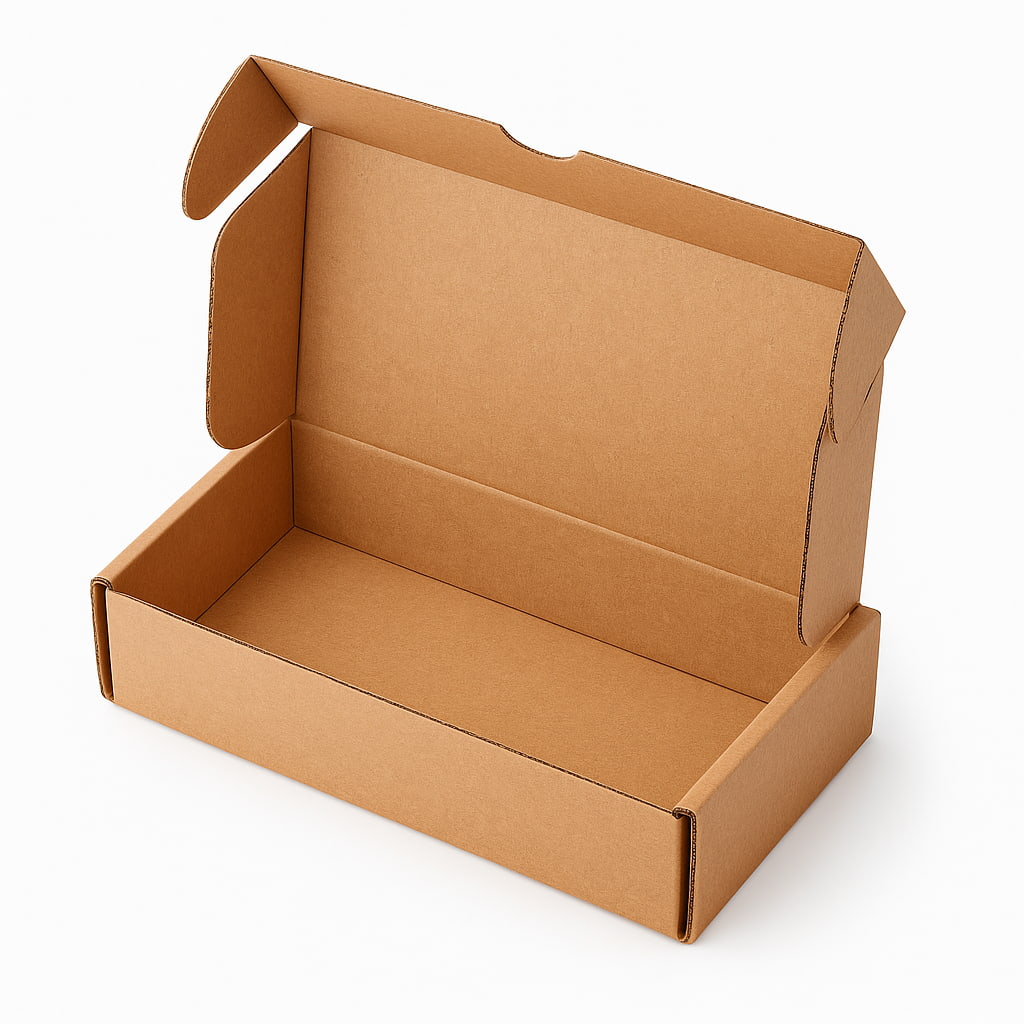
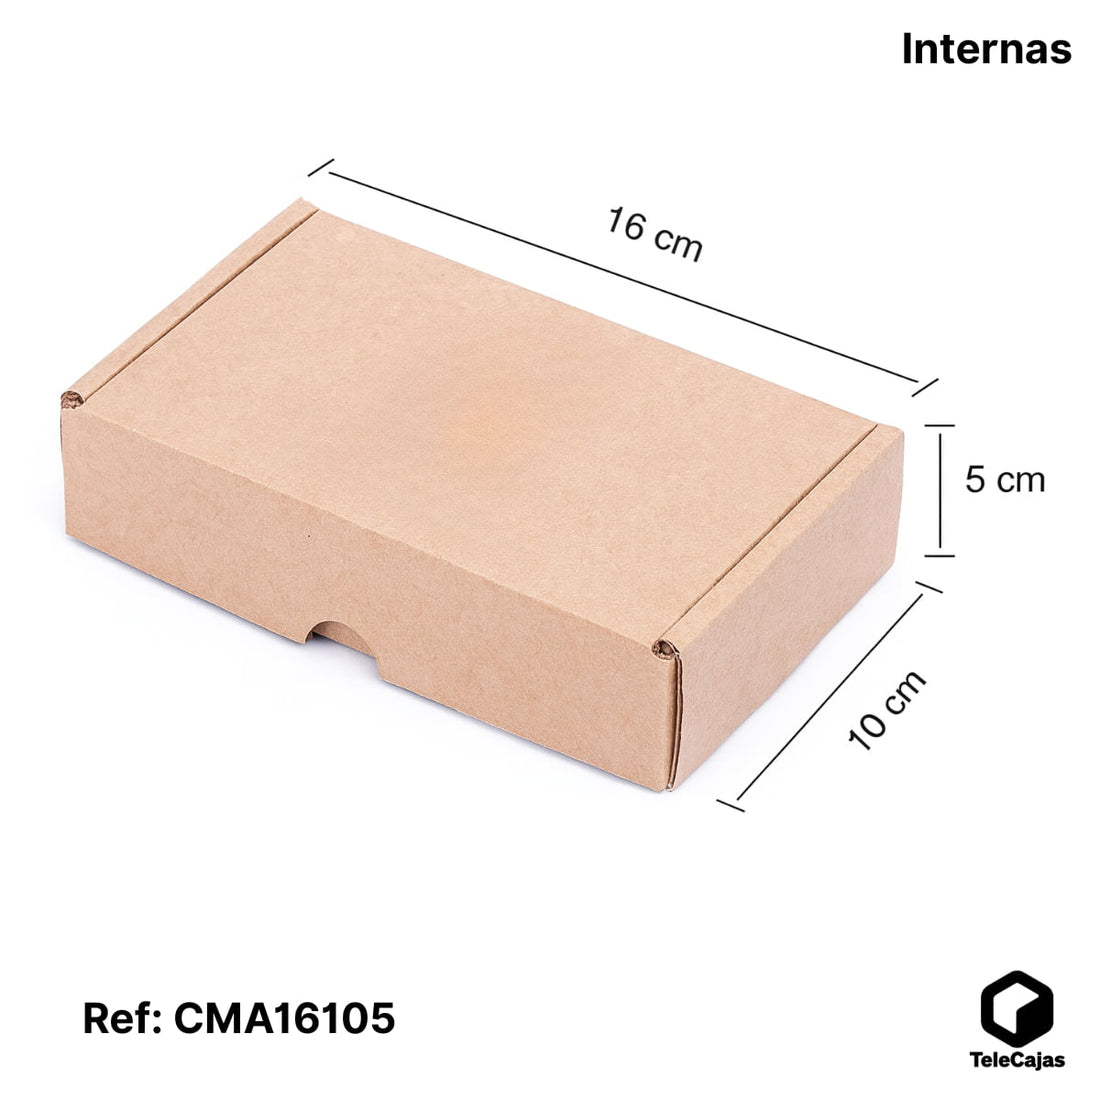
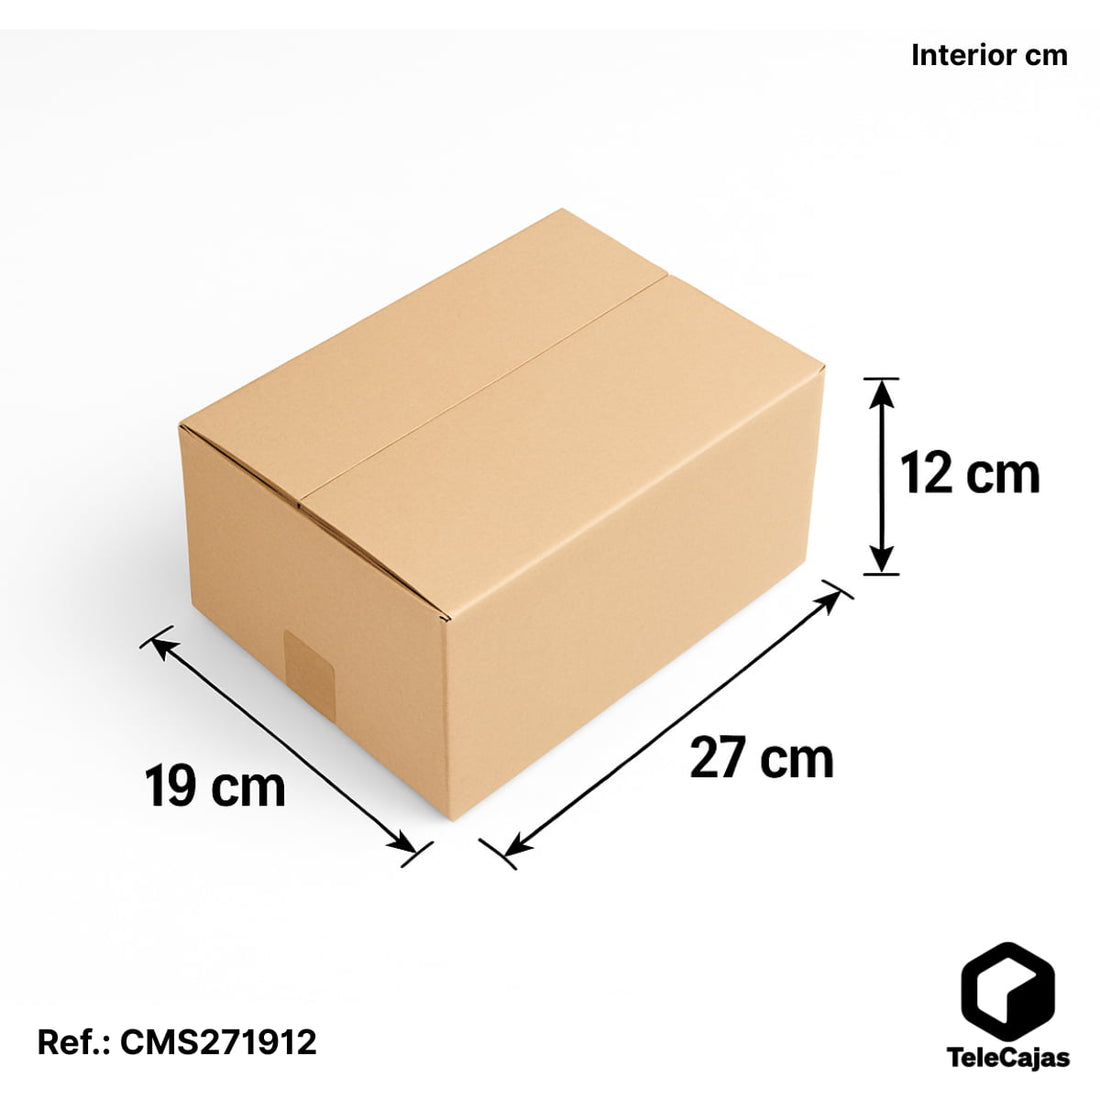
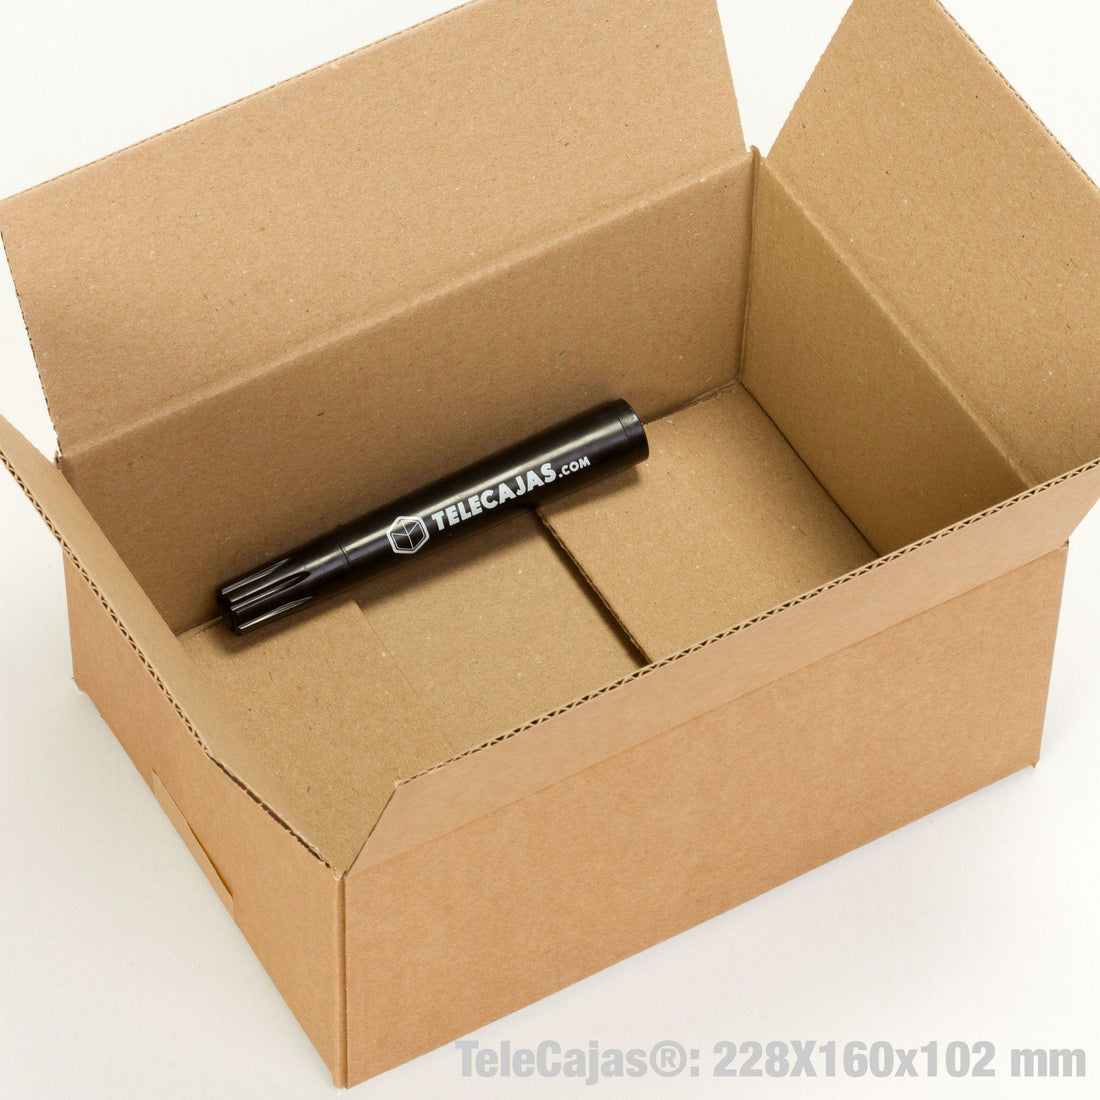
A box that is too small leaves the product pressed against the exterior and transmits impacts. One that is too large allows for internal acceleration and requires a lot of filler. Choose the smallest size that accommodates the item after protecting it, without bulging the sides or forcing the flaps.
If you reuse a box, remove old labels, pictograms, and codes. Do not simply cover one code with another: an incorrect scan can lead to sorting errors. Reuse is only worthwhile when the cardboard maintains its rigidity.
2. Immobilize the content in all six directions
Prepare a cushioning base, protect each piece, and fill the sides and top. The goal is to prevent movement forward, backward, left, right, up, and down. For surfaces and edges, you can combine a 2 mm foam roll with the technique explained in the corner protectors and edge protection guide. Find more options in packaging protection.
- Wrap separately items that might collide with each other.
- Keep screens, glass, and delicate surfaces away from cardboard.
- Protect corners and protruding parts, where force concentrates.
- Place heavy items at the bottom and do not allow them to crush lighter ones.
- Isolate liquids in a watertight barrier so that a leak does not weaken the box.
Perform a simple test before sealing: gently tilt and shake the package. You should not notice any internal shifting or impacts. If the contents move, add or reposition the protection; sealing with more tape will not solve the internal problem.
3. Seal the bottom and top as part of the structure
In a flap box, the bottom supports the load. Apply packing tape over the center seam and both edges to form an H. Repeat on the top. The tape must adhere to clean, dry cardboard, with continuous pressure and sufficient length on the side faces.
Use packing tape, not office tape. In the TeleCajas guide on how much tape a box needs, you can calculate consumption by size and sealing pattern; for standard sealing, you can use 48 mm and 132-meter transparent tape. A fragile sticker communicates caution, but it does not increase the box's resistance.
Place the label on a flat surface, without folding it over an edge. Remove old codes and leave the barcode clean and legible. Weigh and measure the package when it is completely finished, not before adding protection and tape.
4. Photograph what a sealed box no longer allows to be seen
A brief and consistent sequence is more useful than many disorganized images. Keep photos associated with the order or shipment number and respect your company's privacy and data retention policy.
- Complete product and condition before wrapping.
- Serial number or identifier, if it exists and is relevant.
- Protection applied to each piece.
- Base, sides, and filled gaps inside the box.
- Content immobilized before closing the flaps.
- Box sealed on all sides.
- Legible label and package on the scale or next to the measurement.
- Proof of delivery to the carrier or drop-off point.

What Wallapop and Vinted say about packaging
The official Wallapop guide, updated in June 2026, holds the seller responsible for using appropriate packaging. It recommends a snug outer box, filler that immobilizes the contents, wide tape, and a label on a flat surface. It also suggests checking the package by gently shaking it.
Vinted's packaging instructions require a sturdy exterior, filled empty spaces, tape, and removal of previous labels. Vinted also states that incorrect packaging may affect the possibility of obtaining a refund or compensation and recommends photographing the interior and exterior before shipping.
These references provide guidance but do not replace the specific terms of the operation or those of the carrier. Also review weight, size, permitted goods, and coverage limits before dispatching the order.
Prepare a minimum file for each incident
If the customer reports damage, avoid discussing without data. Gather in the same file:
- Order number, tracking, and delivery date.
- Invoice or declared value of the product.
- Photos of the packaging taken before shipment.
- Customer photos of the exterior, label, interior, and damaged item.
- Packaging retained while the incident is being processed.
- Declared weight and measurements versus those recorded by the operator.
- Claim period and channel established in the transport contract.
Ask the recipient for images before discarding the box and filler. The exterior condition may show perforation, crushing, moisture, or re-opening, while the interior helps distinguish displacement, lack of filler, or localized breakage.
Turn repeated damage into process improvement
Classify each incident by product, box, type of damage, carrier, and preparation person or station. An isolated claim explains little; several cases with the same broken corner, the same gap, or the same box format reveal where to test a change.
- Select the family with the highest frequency or cost of damage.
- Change only one variable: box, protection, separator, or seal.
- Prepare several samples and document additional time and material.
- Compare damage, packaging cost, and time over a sufficient period.
- Update the visual instruction at the station if the alternative works.
Do not reduce material just because a desk test seems correct. Useful validation includes actual weight, stacking, vibrations, and expected handling. For delicate items, also consult the guide on how to package fragile products.

Final checklist before delivering the shipment
- The box is dry, intact, and sized for the weight.
- The product does not touch the walls in its vulnerable areas.
- There is no movement when gently tilting or shaking.
- The bottom and top are sealed with appropriate tape.
- The label is flat and no old codes are visible.
- The weight, measurements, and content comply with the service conditions.
- Photos show the product, interior protection, and final package.
- Proof of admission is linked to the order.
Specific protocols by shipment type
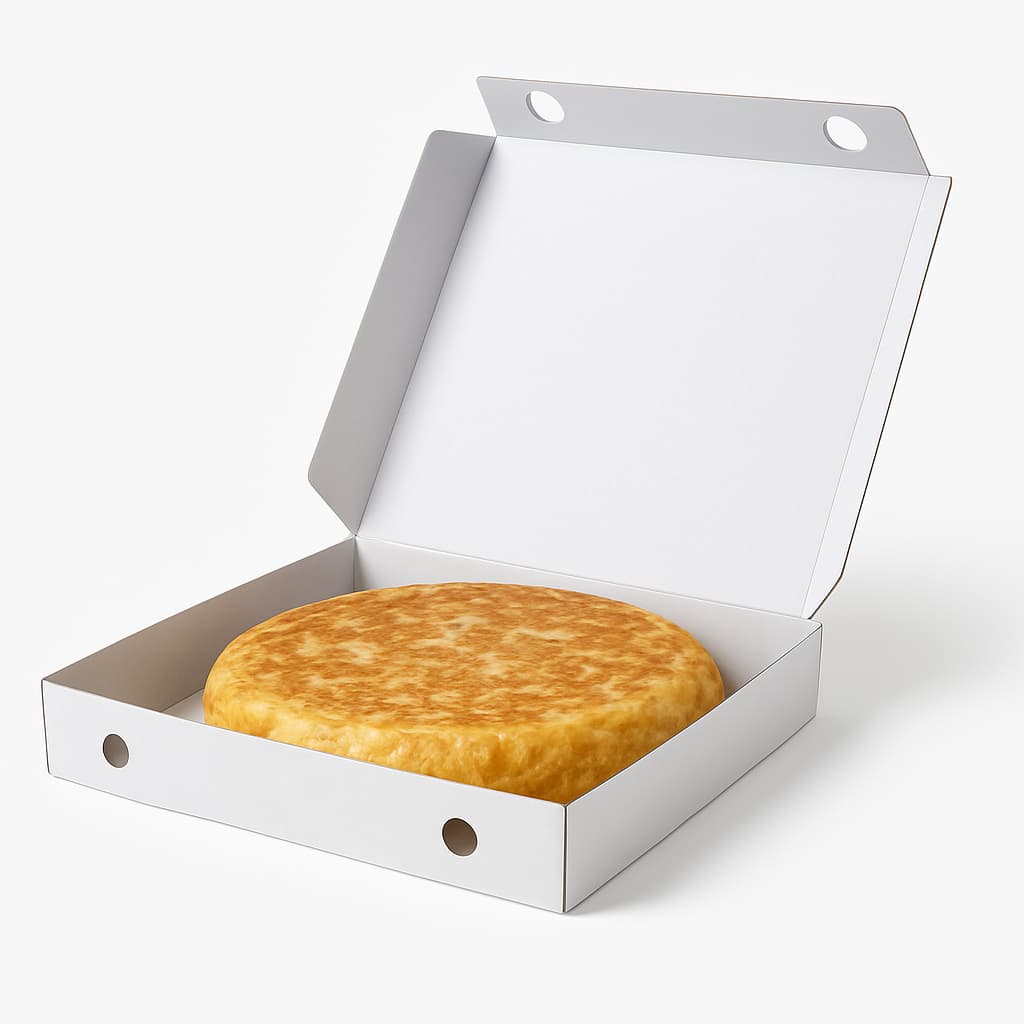
Adapt this general control to the channel and product. For sales between individuals, check the required packaging on Wallapop and Vinted. To avoid boxes that are too large or too tight, use the size chart based on the object. For wine and gift shipments, follow the comparison of boxes for bottles and sets. Finally, incorporate materials, time, and waste into the actual packaging cost per order.
Frequently Asked Questions
Do photos guarantee a claim will be accepted?
No. Photos document the process, but the resolution depends on the damage, contract, deadlines, and applicable packaging and coverage conditions.
What photos should I take before shipping?
Photograph the product and its condition, the protection of each piece, the filled interior, the sealed box, the label, and, when useful, the final weight and measurements.
Is a "fragile" label sufficient?
No. The label informs, but it does not immobilize or cushion. The product needs a sturdy box, adequate separation, filler, and sealing.
Can I reuse boxes for e-commerce?
Yes, if they are dry, rigid, and undamaged. Remove previous labels. Do not use crushed, perforated, or weakened boxes.
How long should I keep the evidence?
At least for the claim period applicable to the carrier, platform, and your return policy, respecting privacy and data retention obligations.
In summary
The best claim is the one that packaging prevents. Define a box and protection per product family, ensure there is no movement, seal consistently, and photograph the phases that will disappear once sealed. This discipline reduces disputes and, when an incident occurs, allows for a factual response.
Sources reviewed on August 9, 2026: official Wallapop and Vinted guides. Operational prevention content; does not constitute legal advice or guarantee coverage or compensation.